
CAPI Check (server-to-server) - Sending Test Events
Step 1: Obtaining Test Event Code
-
Go to Facebook Events Manager
-
Open your pixel → Test Events
-
Click Test Server Events
-
Copy the Test Event Code (for example:
TEST12345)
Step 2: Running the Test in the Tracker
-
In the pixel list, open the action menu (⋮) for the desired pixel
-
Select Test
-
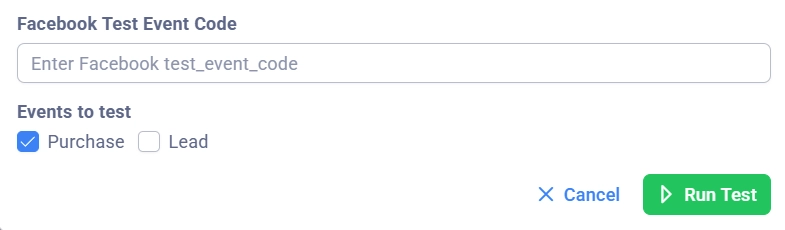
In the opened dialog:
-
Pixel ID — displayed automatically (view only)
-
Pixel Access Token — displayed automatically (view only)
-
Facebook Test Event Code — paste the copied code
-
Events to test — select events for testing (multiple selections allowed)
-
-
Click Run Test
Step 3: Checking Results
After sending test events:
In the Tracker:
-
The result for each event will be displayed
-
✅ OK — event successfully sent
-
❌ Failed — sending error (an error message will be shown)
In Facebook Events Manager:
-
Refresh the Test Events page
-
You should see the sent events labeled "Server" and Test Event Code
-
Check that all parameters (IP, User Agent, FBC, Custom Data) are transmitted correctly
What to Check During Testing:
-
✅ Events reach Facebook
-
✅ The
event_nameparameter matches the expected value -
✅ User Data is transmitted correctly (IP, User Agent, FBC)
-
✅ Custom Data contains the correct values (currency, value)
-
✅ event_time corresponds to the current time
IMPORTANT: Test events do not affect ad optimization! They are used only for configuration verification.