
PWA Constructor
What is the PWA Constructor
The PWA Constructor is a step-by-step wizard for creating Progressive Web Apps that mimic an app page in the Google Play Store. The finished PWA is used as a landing page to attract traffic and collect push subscribers.
A live preview of how the PWA will look on the user's device is always displayed on the right.
Constructor Steps
The constructor consists of 3 steps:
No | Step | What is configured |
|---|---|---|
1 | General Settings | Page appearance, color scheme, iOS behavior, PWA Name, language, category, creation method |
2 | Application | Name, description, icon, screenshots, rating |
3 | Comments | User reviews in the style of Google Play |
Navigation between steps 2–3 becomes available only after the PWA is saved (i.e., after the first save on step 1). When switching steps, the data is automatically saved.
Step 1 — Basic Settings and Design
Block “Basic Information”

Field | Required | Description |
|---|---|---|
PWA Name | Yes | System name for identifying the PWA in your account (not shown to users) |
PWA Language | Yes | The interface language of the PWA (affects buttons, texts): RU, EN, UA, etc. |
PWA Category | Yes | App niche: Gambling, Casino, Sports Betting, etc. |
Block “Creation Method”
Choose one of two approaches:
By preset (template)
-
A ready-made design set is selected (theme + asset template)
-
After selecting a theme, a list of templates with icons and descriptions appears
-
When selecting a template, all fields in the “Design” and “Application” steps are filled automatically
-
This is the recommended way for a quick start
From scratch (new PWA)
-
All fields are filled manually
-
Suitable for full customization without using ready-made templates
Block “Appearance” (Design)

Field | Description |
|---|---|
Color Scheme | Overall page palette: Green, Standard, etc. |
Theme | Light or dark interface theme |
Block “iOS Settings”
Field | Description |
|---|---|
iOS Flow | Behavior for iOS users:
|
Block “Feature Settings”
Switches (on/off):
Option | Description |
|---|---|
Preloader | Show loading screen when opening PWA |
Bottom Menu | Display bottom navigation menu |
Arabic Text | Enable RTL text support for Arabic users |
Header | Show Google logo in the header |
App Support | Show support contact block (activates email/address fields on step 2) |
Share Block | Display sharing buttons |
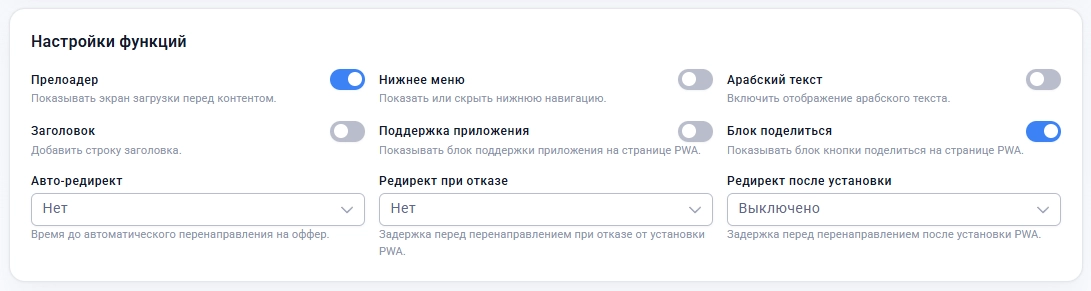
Redirect delays (dropdown, values: None / 30 sec / 45 sec / 1 min / 1.5 min / 2 min / 2.5 min / 3 min):
Option | Description |
|---|---|
Auto-redirect | Automatic redirect to the offer after N seconds of opening |
Redirect on Decline | Redirect when closing (declining) the installation notification |
Redirect after Installation | Redirect after clicking the “Install” button |
Step 2 — Application
Setting up content that mimics the app page in Google Play.
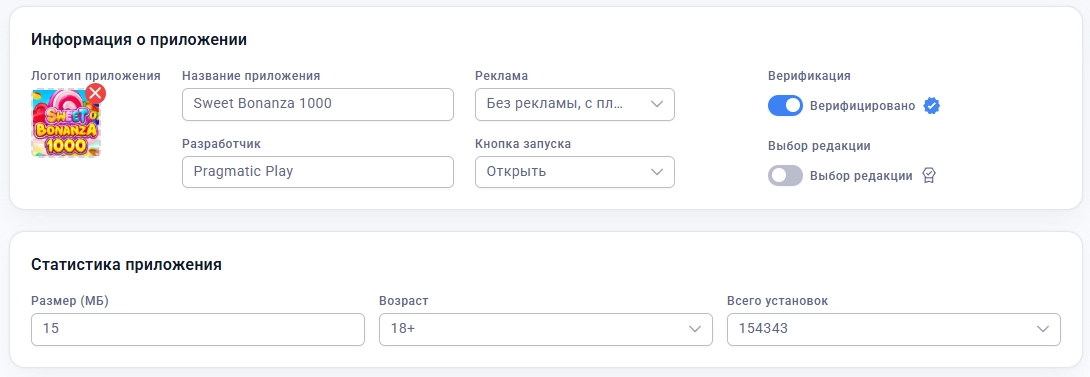
Block “App Information”
Field | Description |
|---|---|
App Name | Displayed on the PWA page as the app name |
Developer | Company/developer name under the app name |
Advertising | Monetization type: |
Action Button | Button text: |
App Icon | Square icon (recommended 512×512px, WebP format) |
Number of Installations | Displayed number of downloads. You can choose a preset value or enter your own |
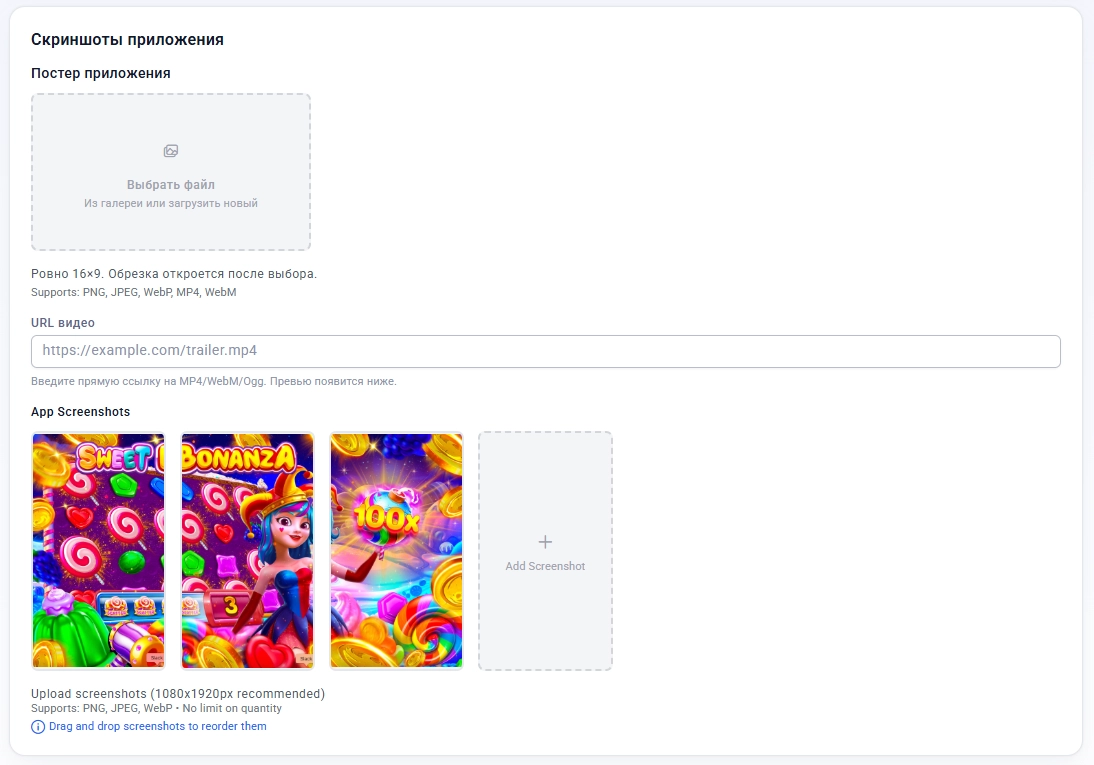
Block “Screenshots”
Field | Description |
|---|---|
Poster | Cover / preview image (aspect ratio 16:9, format PNG, JPEG, WebP or MP4 video, up to 5 Mb) |
Video | YouTube video URL or direct link to the video file (shown in preview on the page instead of the poster) |
Screenshots | Up to 10 screenshots of the app (format PNG, JPEG, WebP) |
Block “Description”
Field | Description |
|---|---|
Description Type | Standard or alternative layout for displaying text |
Description Text | Full description of the app. Supports macros (automatically substitutes name/developer) |
Description Generator | The “AI Generation” button opens the automatic description generation dialog |
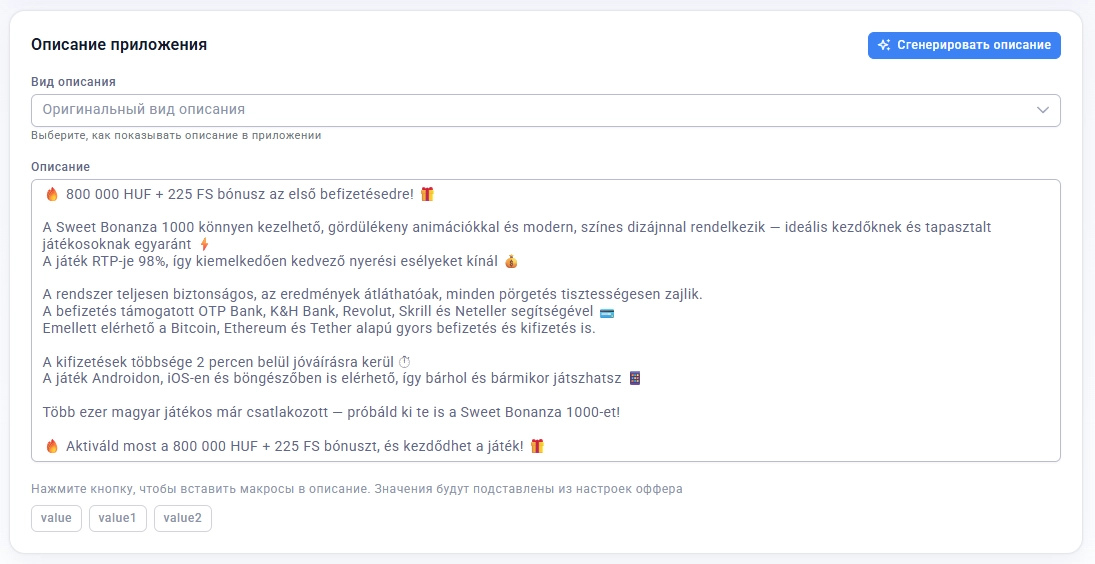
Available macros for the description text:
-
{value}— app name -
{value1}— developer name -
{value2}— developer name
Use macros if you filled them in when setting up the Offer
Block “Tags”
Keywords displayed under the description. Added by entering a word + Enter or the “Add” button. A tag is removed by clicking “×”.
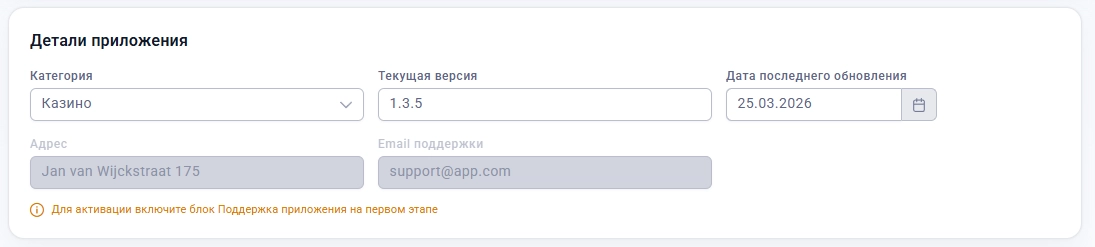
Block “App Details”
Field | Description |
|---|---|
Category | Genre in Google Play: Casino, Entertainment, Games, etc. |
Version | Version number (e.g., |
Update Date | Date of the last update — selected from the calendar |
Support Address | Physical/legal address (active only if “App Support” is enabled) |
Support Email | Contact email (active only if “App Support” is enabled) |
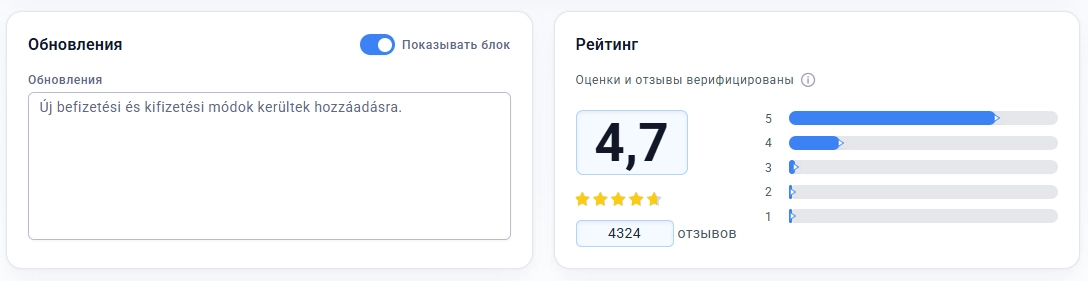
Block “Updates”
Field | Description |
|---|---|
Show Updates Block | Switch: display/hide the “What’s New” section |
Update Text | Description of changes in the new version |
Block “Rating”
Setting up the distribution of votes by stars (1–5). The final average rating is calculated automatically and displayed in the preview.
Additional Switches
Option | Description |
|---|---|
Verification | Display “Verified” badge next to the name |
Editor’s Choice | Display “Editor’s Choice” badge from Google Play |
Interface Translation | Automatically translate PWA texts to the user's language |
Alternative Description View | Compact/expanded layout of the description block |
Step 3 — Comments
Managing reviews that are displayed on the PWA page in the style of Google Play.
Auto-generation of Comments (AI)
-
Select country and language for the set of reviews
-
Specify number of comments (usually 2–10)
-
Specify publication date (or leave current)
-
Click the generation button — AI will create reviews in the selected language
Tabs of Comment Sets
You can create multiple sets — one for each combination of country + language. The active set is displayed in the preview. Switching between sets does not lose data.
Manual Addition of a Comment
Each comment contains:
Field | Description |
|---|---|
Username | Displayed name of the author |
Comment Text | Content of the review |
Rating | Rating from 1 to 5 stars |
Likes | Number of “Helpful” marks |
Date | Publication date |
Avatar | User photo (uploaded from the asset gallery) |
Developer Response | Response message (displayed under the review) |
Managing the List
-
Dragging (drag & drop) — changing the order of reviews
-
Editing — changing any field through a dialog box
-
Deleting — removing a single comment
-
Saving to Favorites — save the set for reuse
-
Bulk Operations — select multiple comments and delete at once
Preview (Right Panel)
The right column displays a live preview of the PWA, updated in real-time as fields are edited.
Preview Switches:
-
iOS / Android — switch between views on iOS and Android
-
New iOS Design — show updated installation view for iOS 16+
Saving and Navigation
-
When moving from one step to another, data is automatically saved
-
A manual save button is also available on each step
-
After the first save on step 1, the PWA receives an ID and appears in the list
/app/pwa -
Reopening
/app/pwa/createresets the form to create a new PWA
Frequently Asked Questions
Why are steps 2–3 not clickable?
Steps 2–3 are unlocked only after the first save of the PWA (step 1 must be filled and saved).
How to quickly create a PWA from scratch?
Select “By preset”, choose a theme and template — all fields will be filled automatically. Just check the name and click save.
Can I create a PWA in multiple languages?
Yes. Check the Content Translation box. The interface language and content translation will be substituted according to the browser's primary language. You can create multiple comment sets for different countries and languages.

What is “App Support”?
This is a block on the PWA page with contact information (address and email). To display it, enable the “App Support” switch on step 1, and then fill in the address and email fields on step 2.
How to use the PWA in a campaign?
After creating the PWA, it will be available in the dropdown list when setting up the campaign.