
Content Gallery
Content Gallery — the central place for storing and managing images and videos. It is used in two modes:
-
Gallery Page (menu Resources → Content Gallery) — full management of media files: upload, folders, deletion, restoration.
-
File Selection Dialog — opens from within other forms (for example, when selecting a PWA cover). Allows you to select an already uploaded file or upload a new one right on the spot.
1. Gallery Page
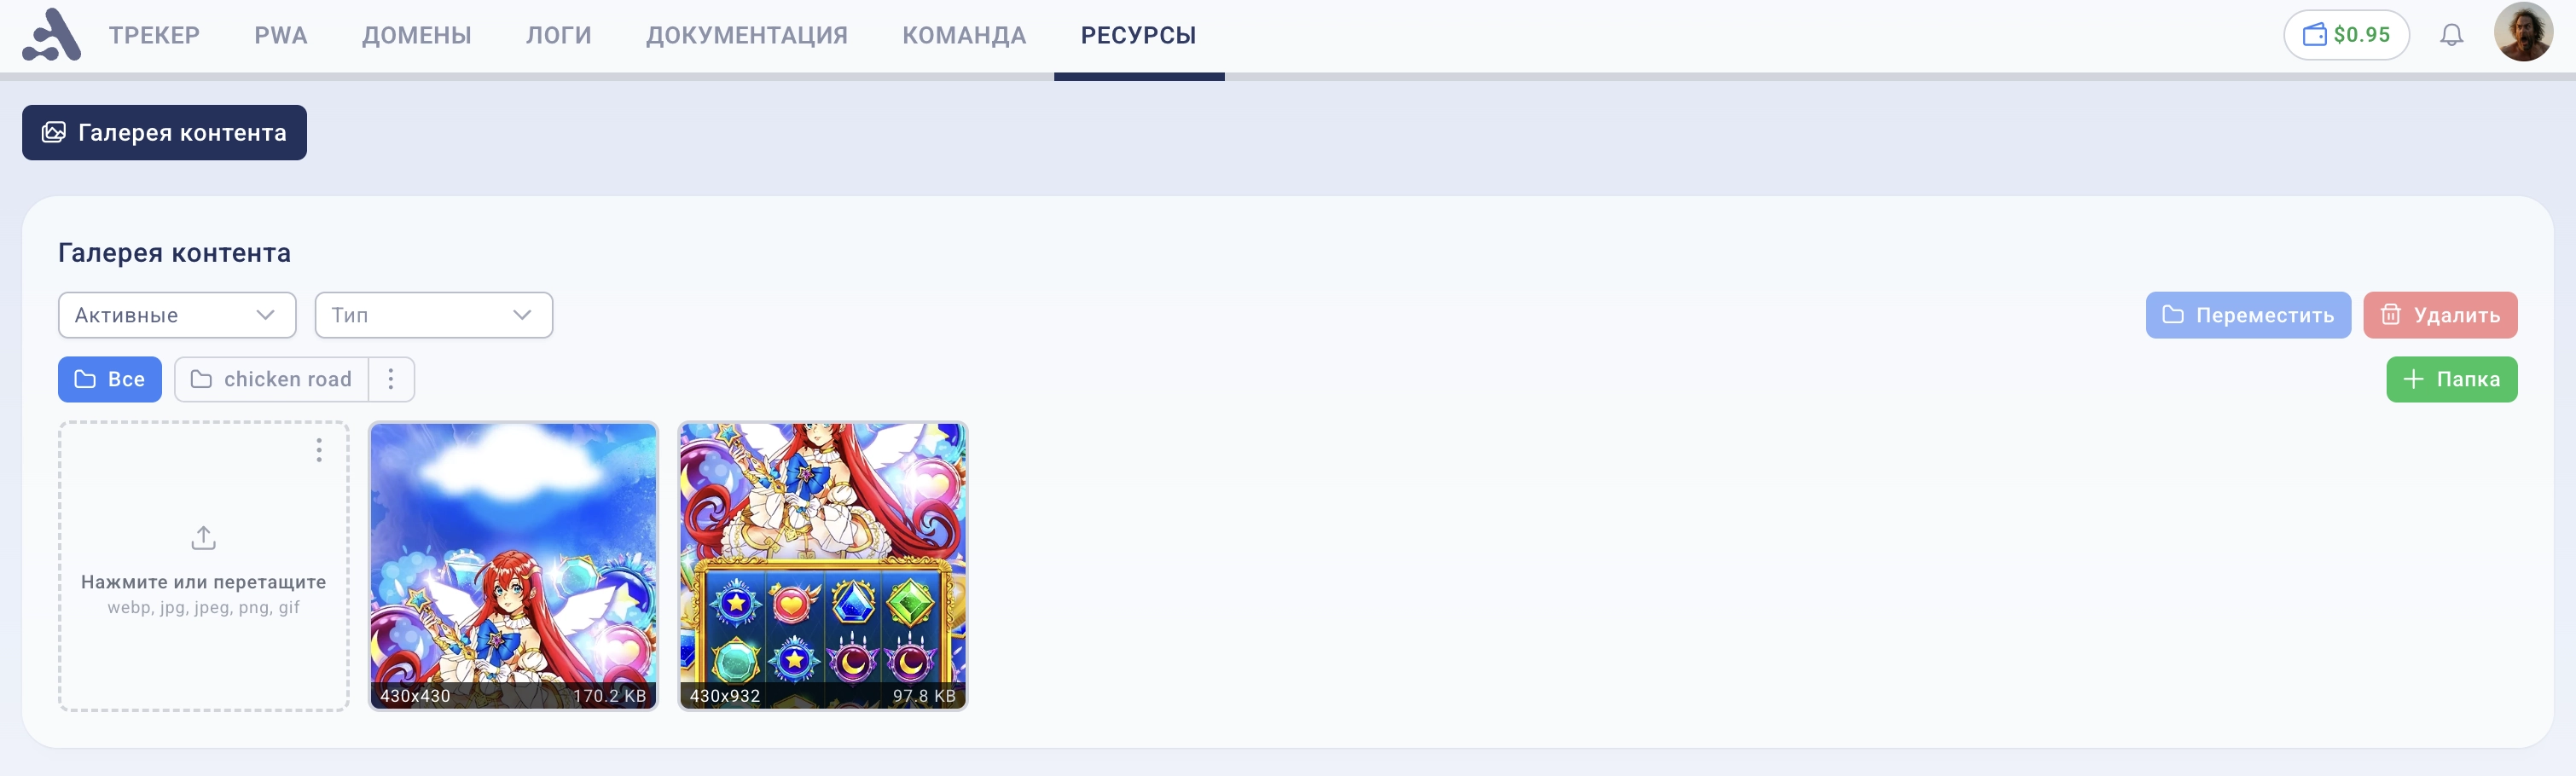
1.1. File Upload
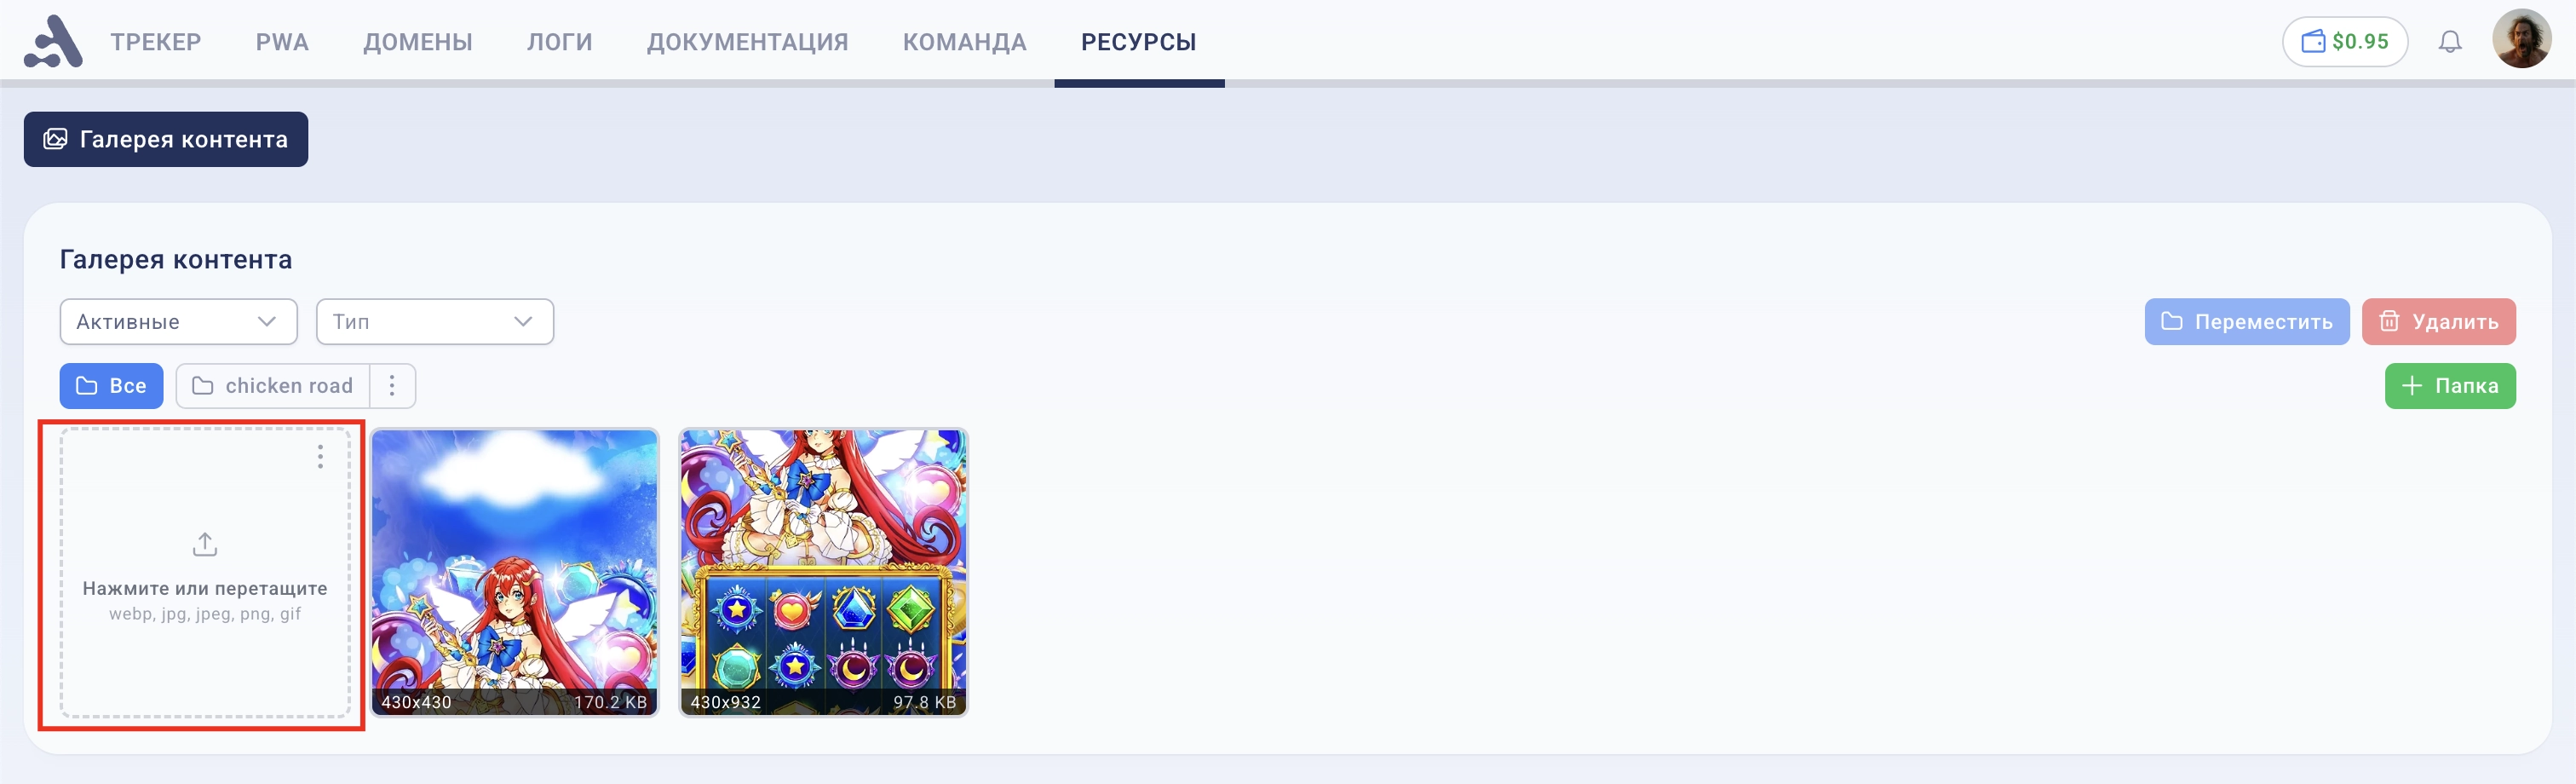
Images
Click on the cell with the upload icon (the first cell in the grid) or drag files directly onto it. Supported formats: webp, jpg, jpeg, png, gif.
Videos
Click on the ⋮ button in the upper right corner of the upload cell, then select Select Video. Supported formats: mp4, mov, webm. Maximum size — 20 MB.
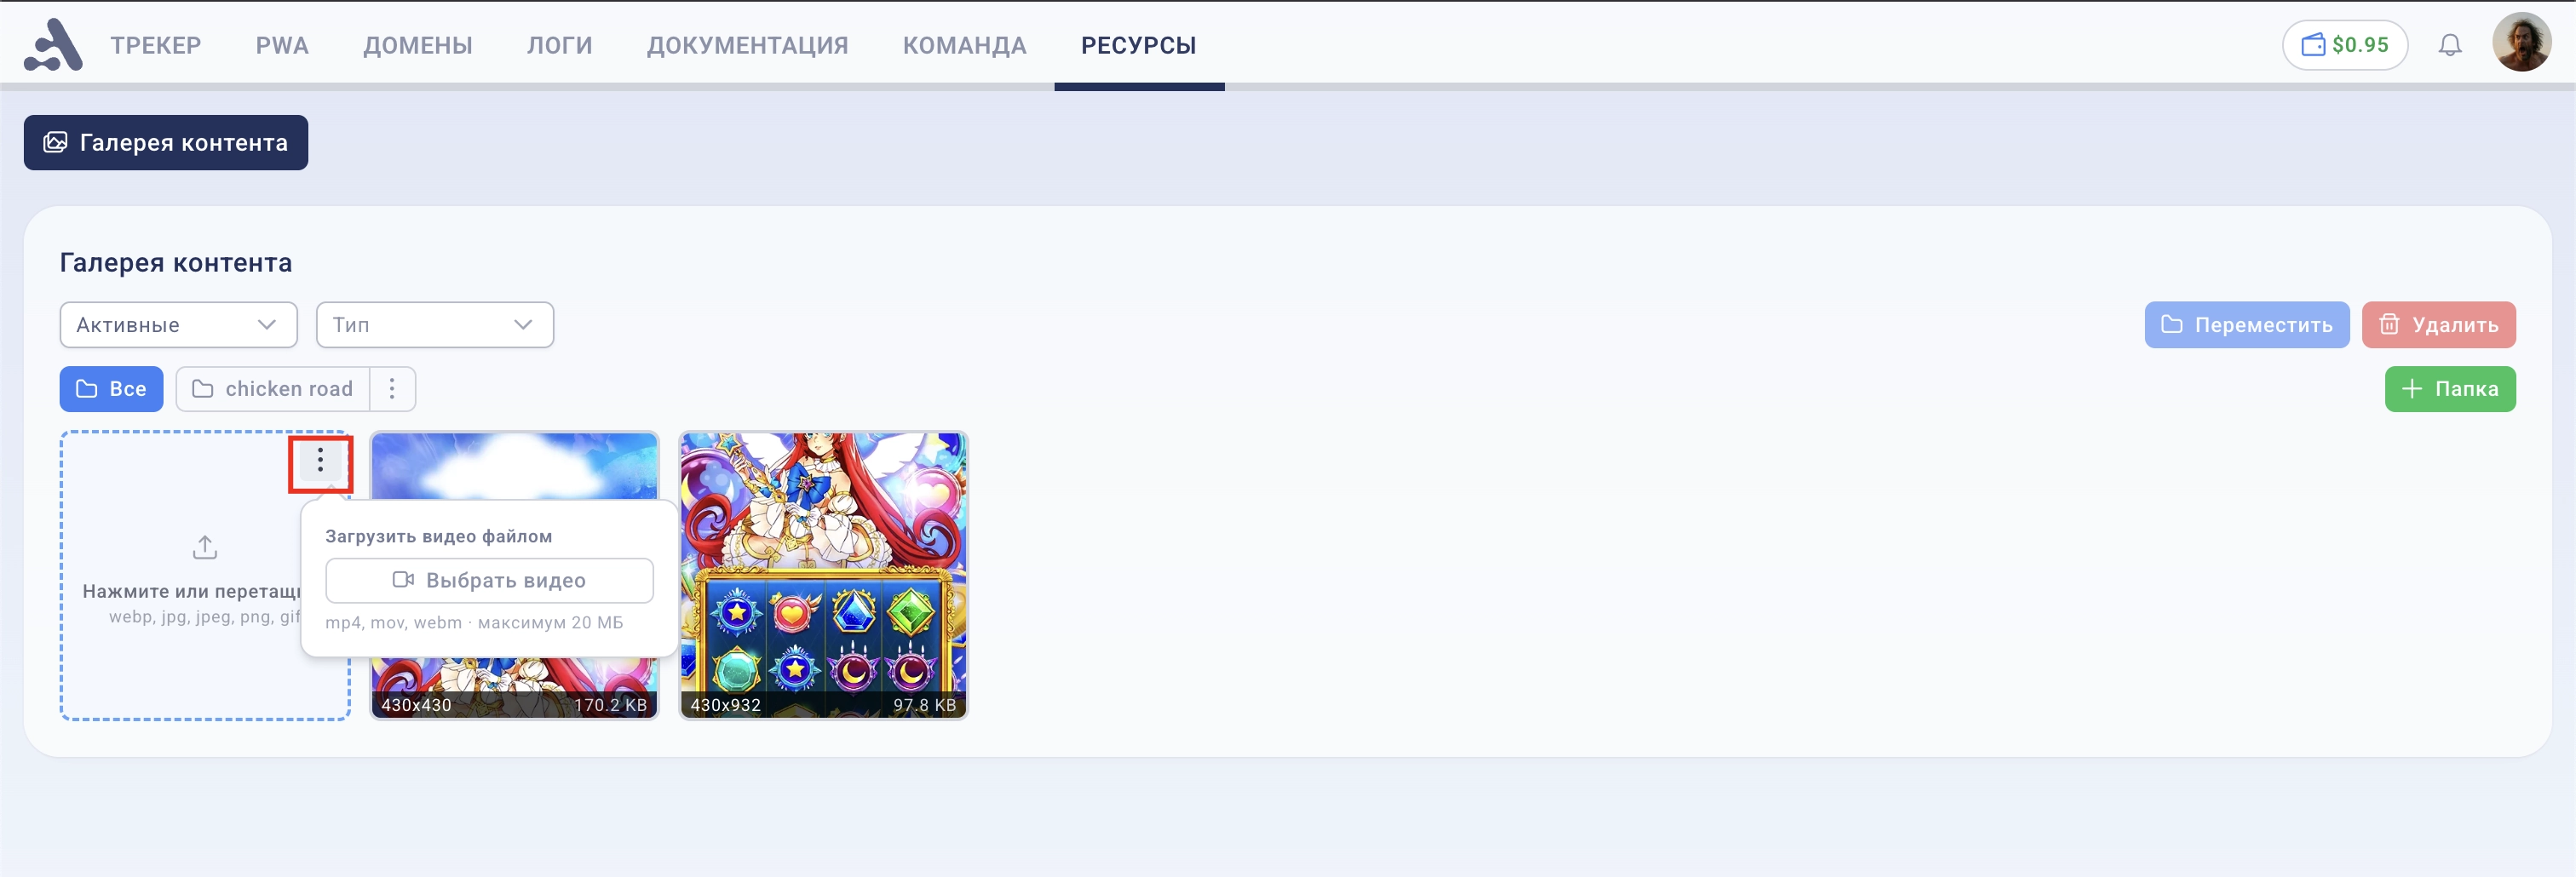
After uploading, the video displays the status "Processing..." — the system is converting the file. Once processing is complete, a preview will appear. When hovering over, the video plays automatically.
1.2. Folders
Folders help organize media files into groups.
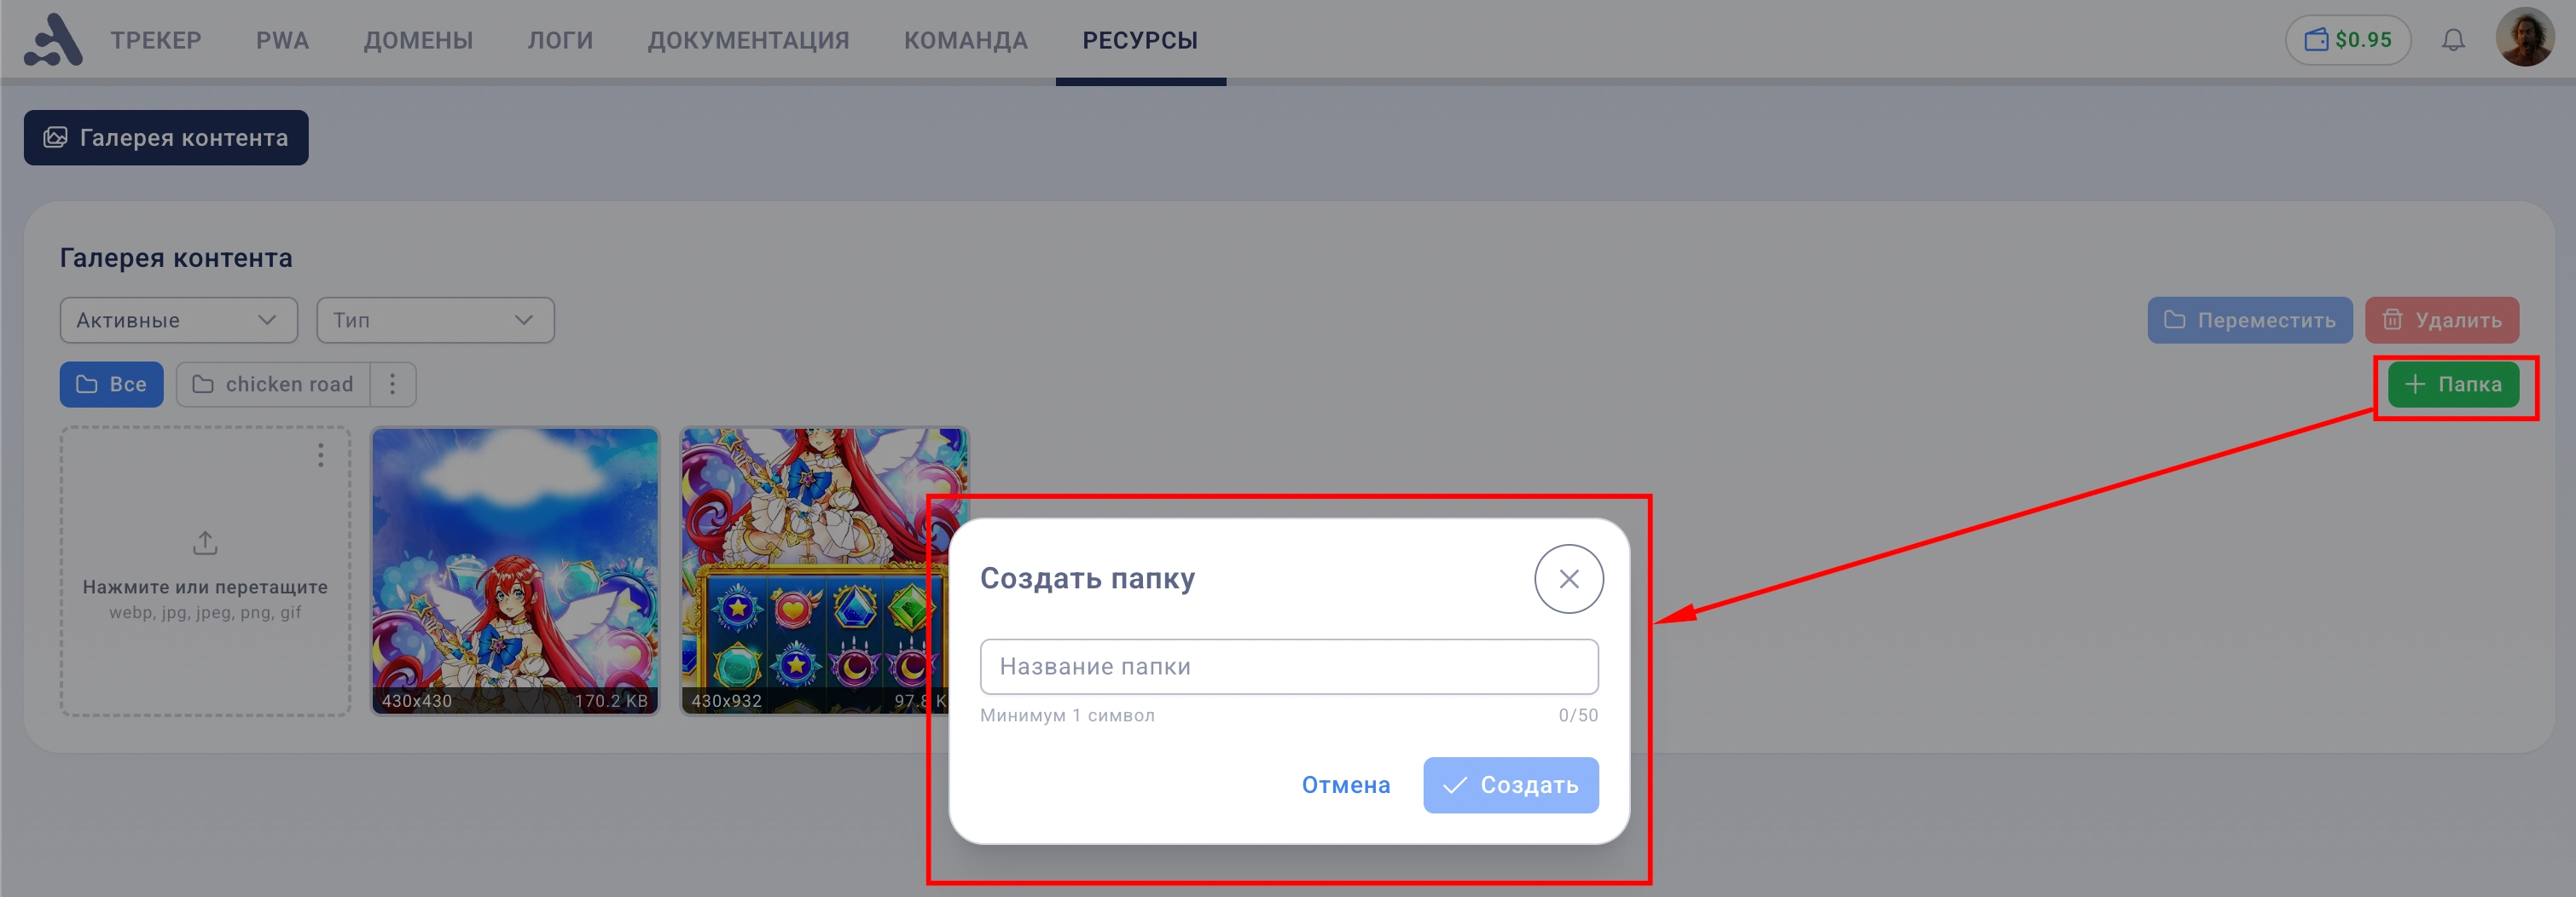
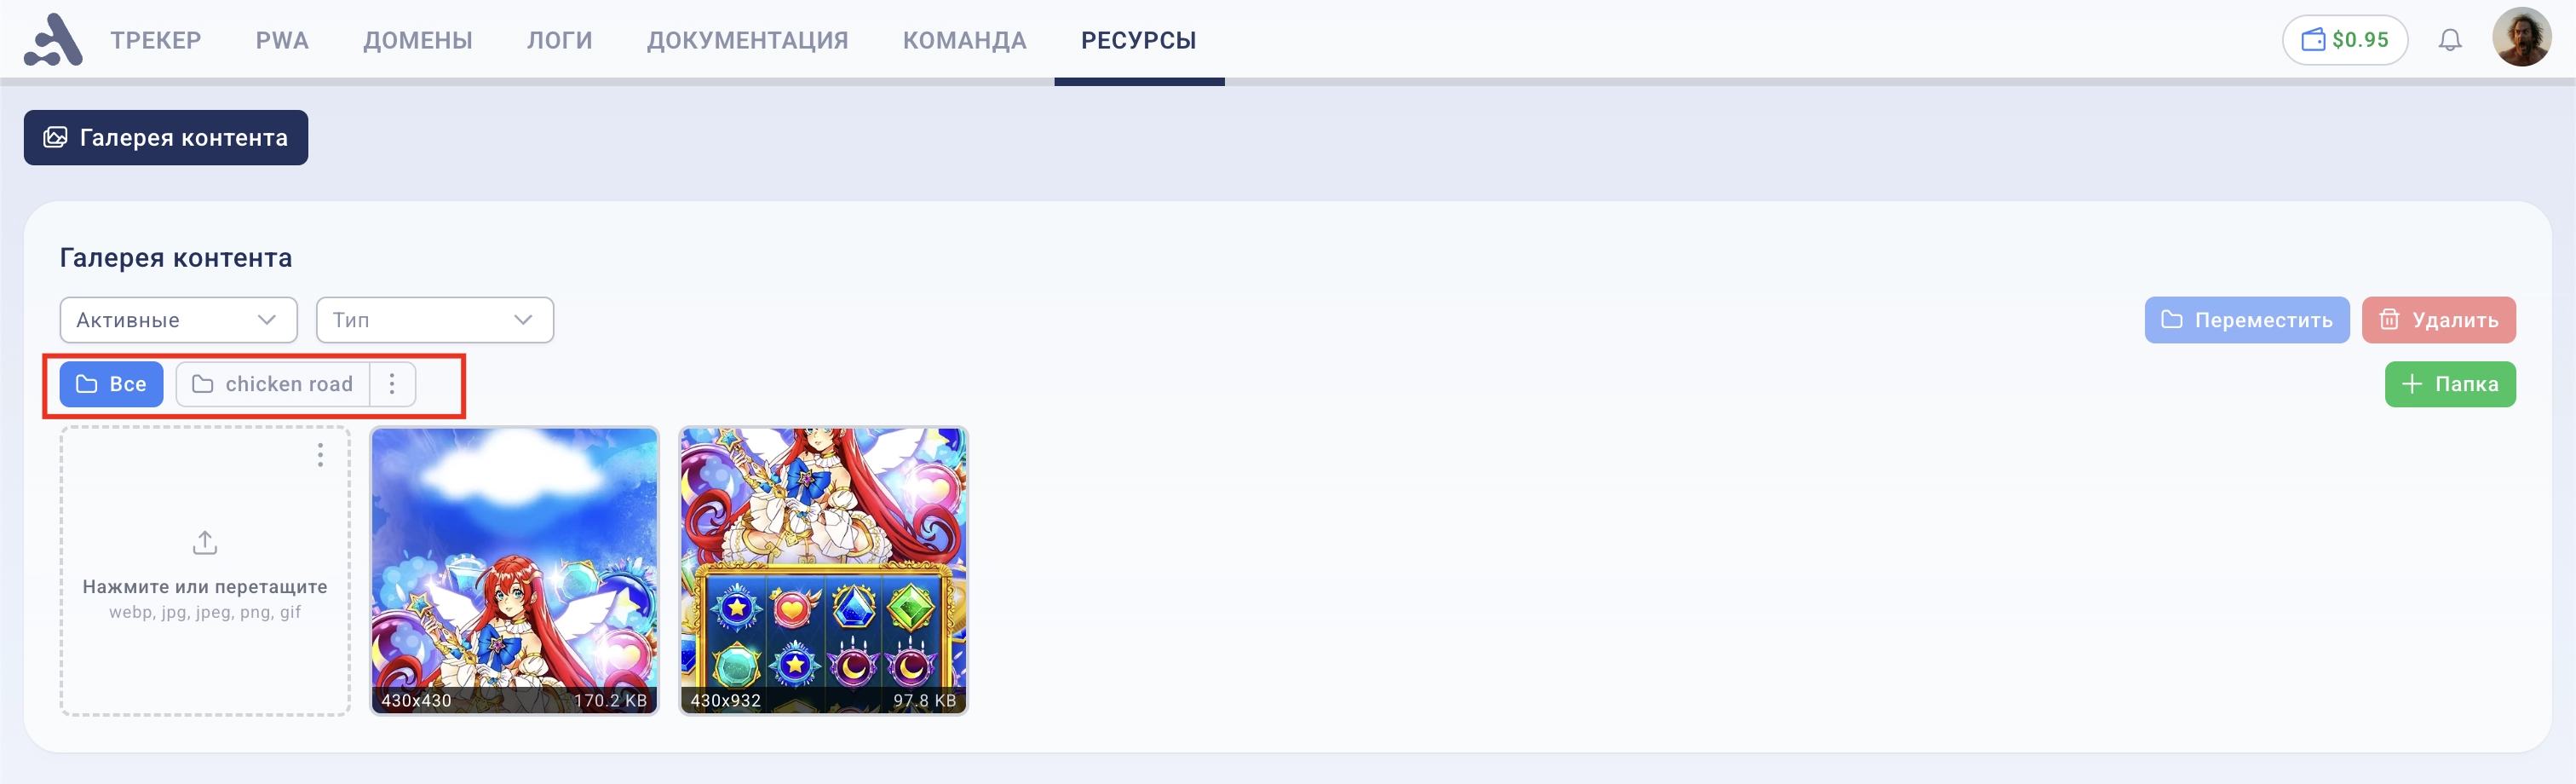
Create Folder
Click the Folder button (with the + icon) on the right side of the folder row. Enter a name (up to 50 characters) and click Create.
Switching Between Folders
Click the button with the folder name — the gallery will show only files from that folder. Clicking again removes the filter, and all files are displayed again. The All button resets the filter at any time.
Rename or Delete Folder
Click the ⋮ icon next to the folder name — a menu will open with Rename and Delete options.
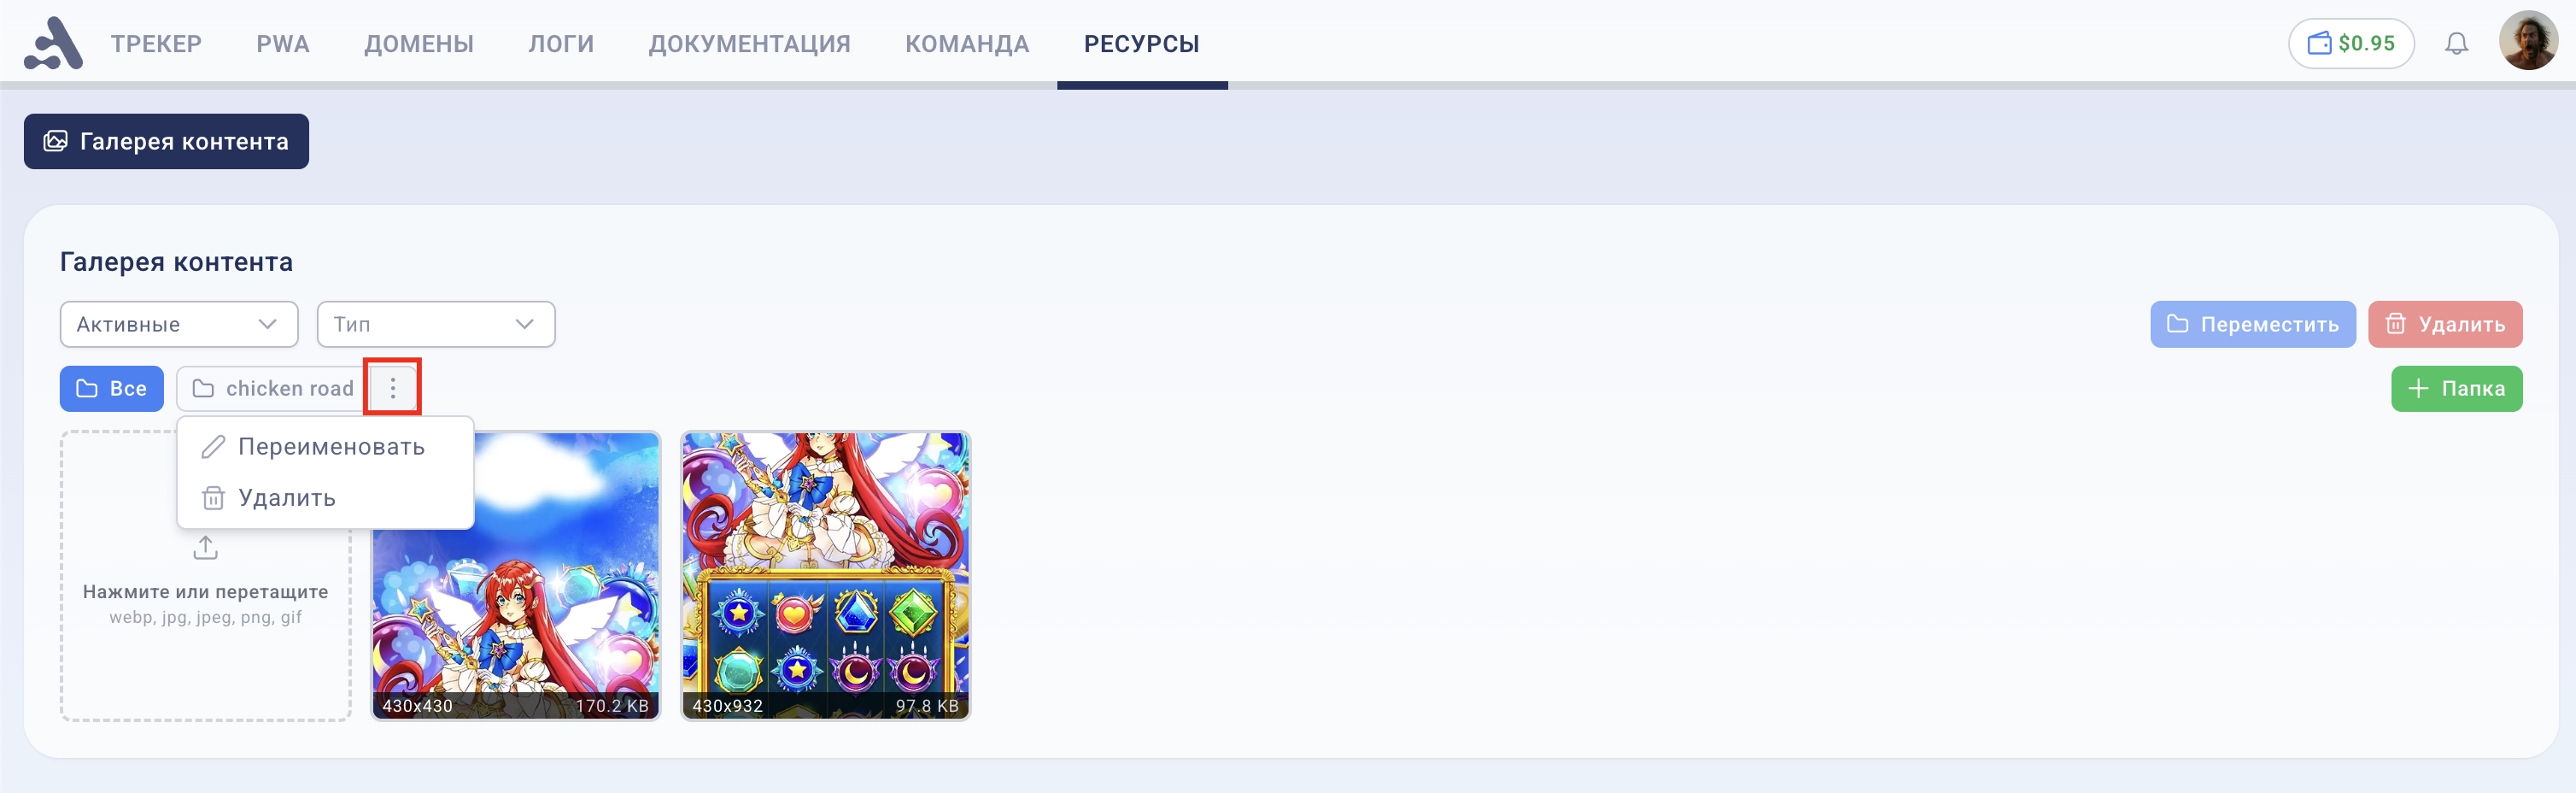
⚠️ When deleting a folder, the files inside are not deleted — they are moved to the root (without a folder).
1.3. Selection and Bulk Actions
Click on any image or video to select it (a blue frame and checkmark will appear). You can select up to 50 files at a time.
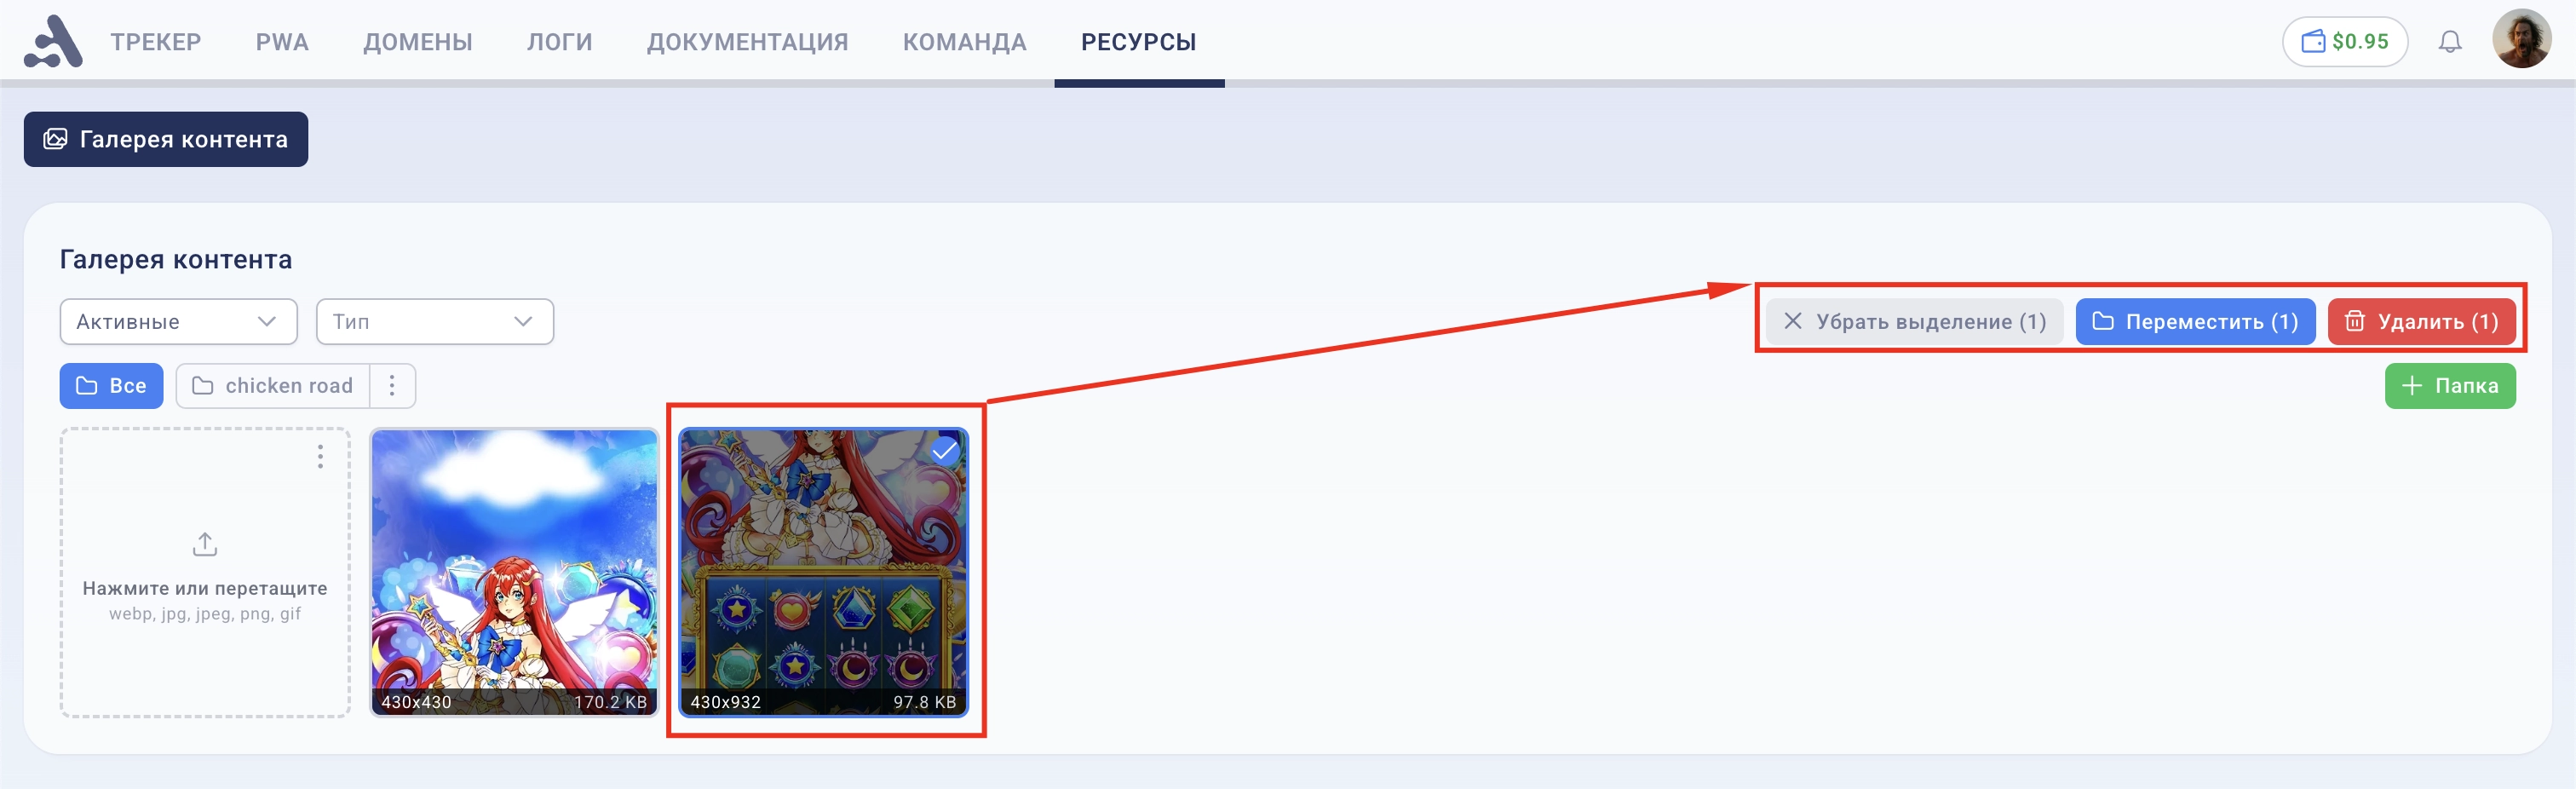
After selection, buttons appear in the toolbar:
Button | Action |
|---|---|
Deselect (N) | Deselect all files |
Move (N) | Open folder selection dialog |
Delete (N) | Move files to archive (soft delete) |
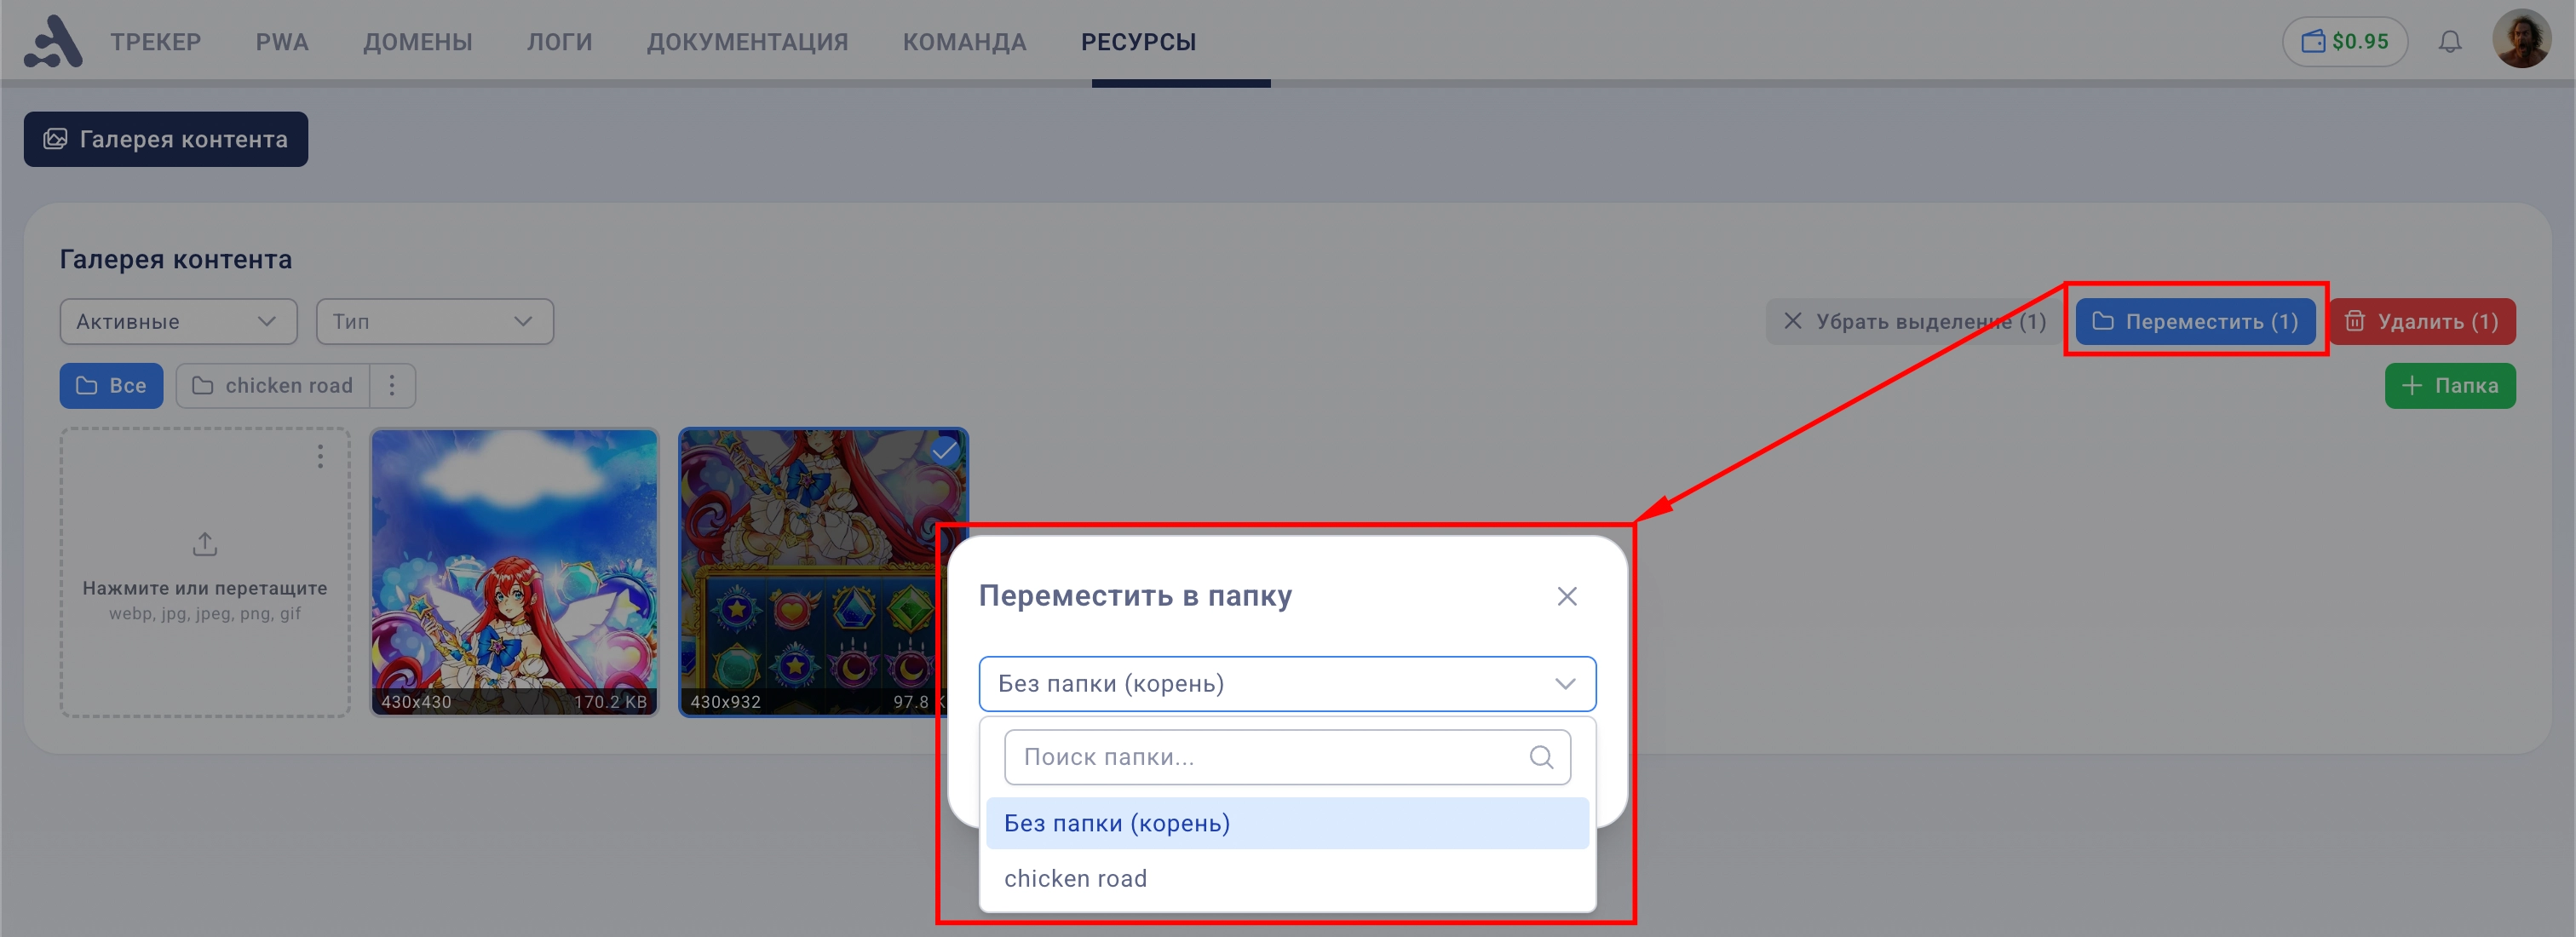
Moving to Folder
Click Move, select a folder from the list (or "No folder" to move to the root) and confirm.
1.4. Archive and Restoration
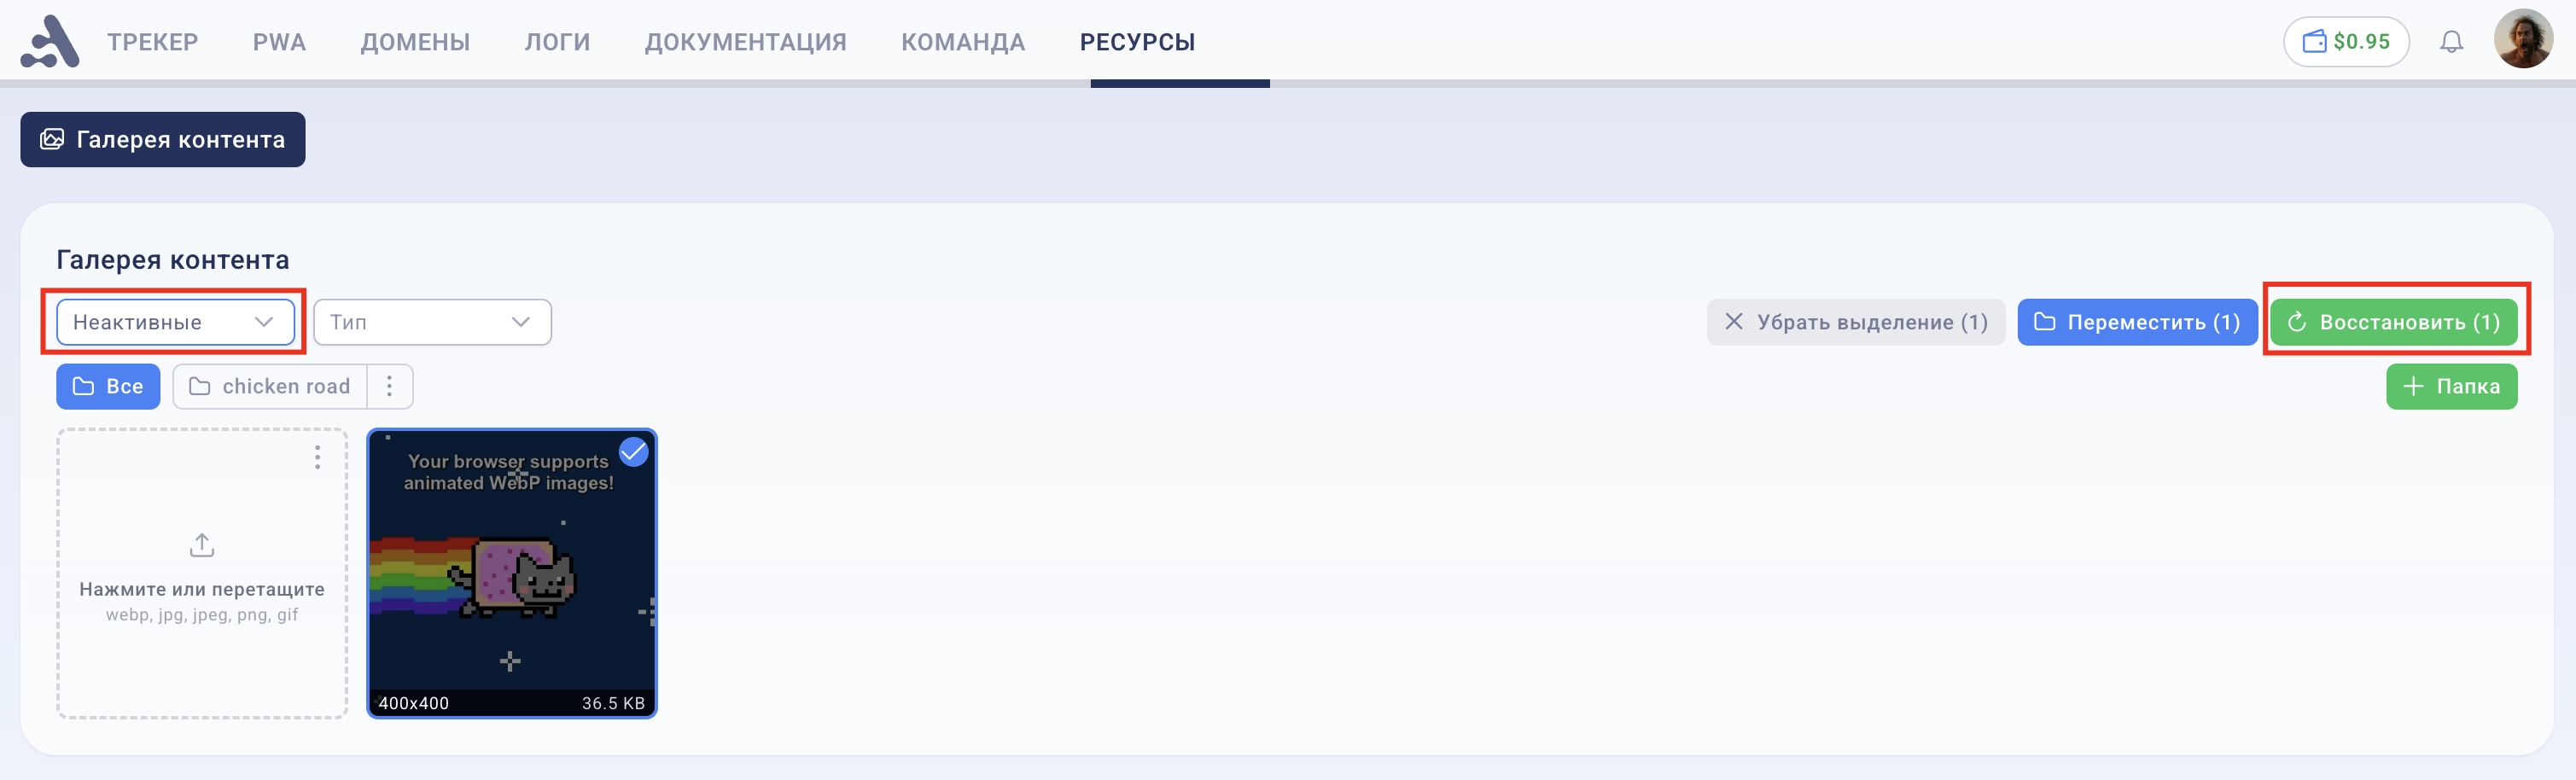
By default, the gallery shows active files. Switch the filter Active → Inactive (dropdown in the toolbar) to see deleted files.
In the inactive files mode, the Delete button is replaced with Restore — select the desired files and click Restore to return them to the gallery.
1.5. Filters (for Managers)
Select a user to see only their files.
Type Filter
The Type dropdown allows you to show only Images or only Videos.
1.6. Pagination
If there are more than 50 files, navigation appears at the bottom of the page.
2. File Selection Dialog
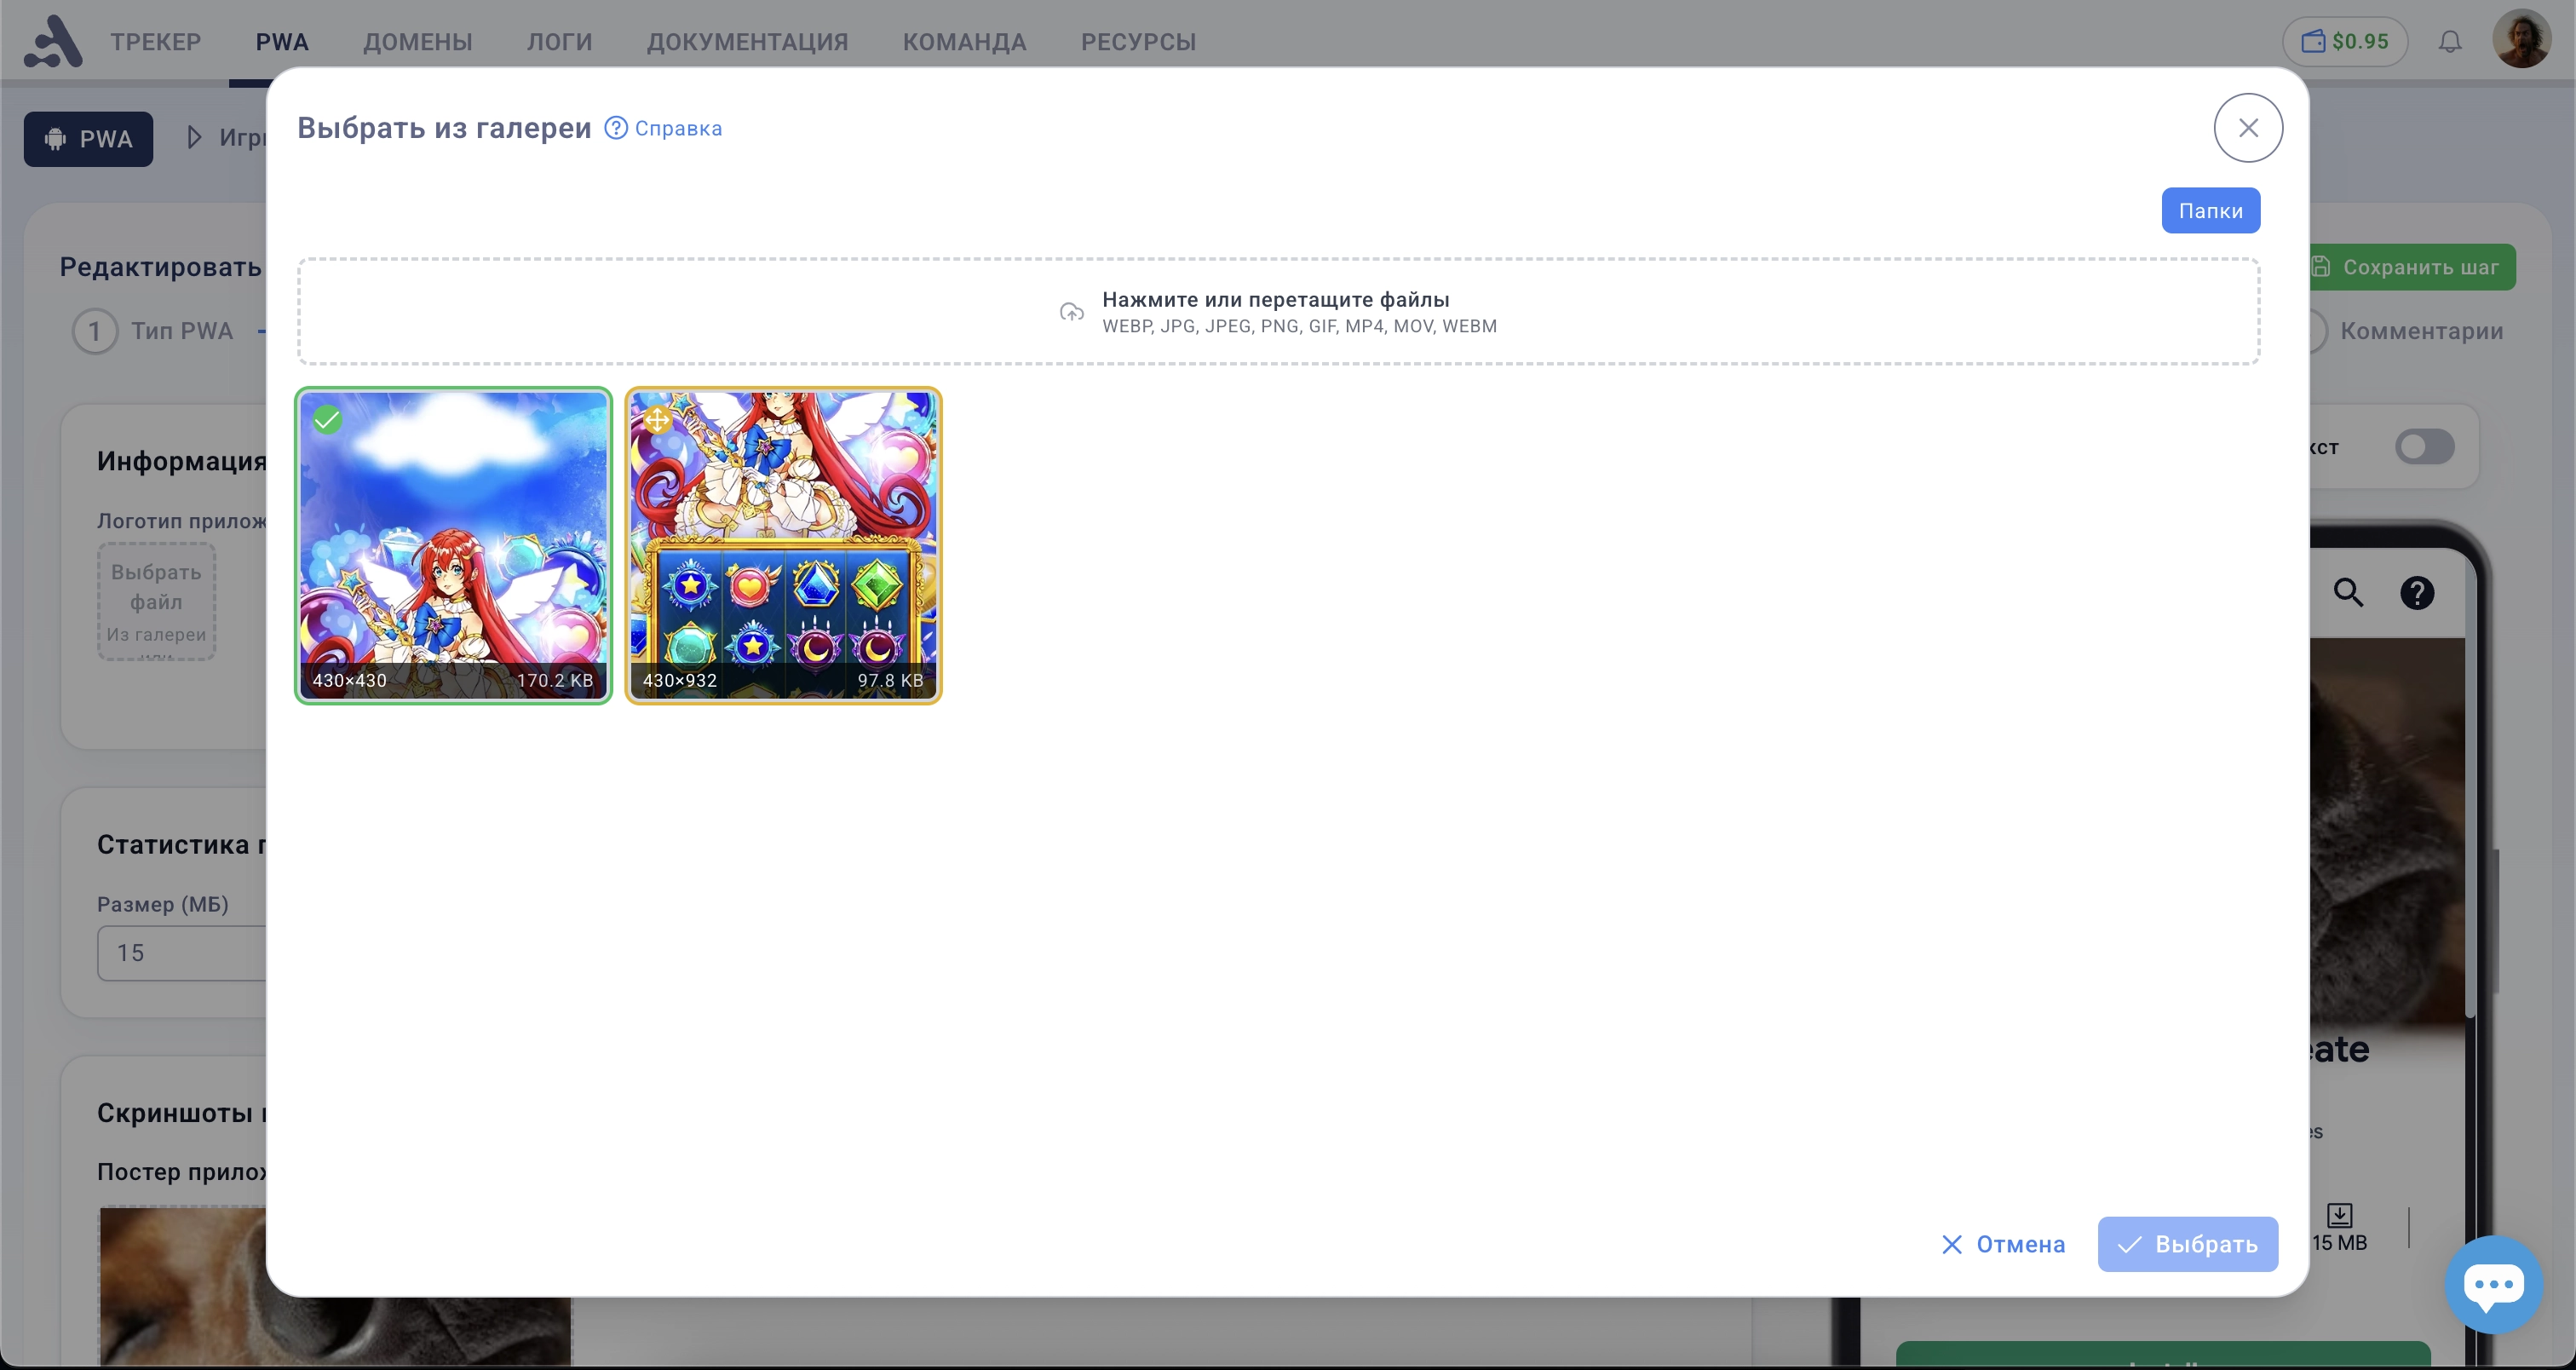
The dialog opens in various places in the interface (for example, when selecting an image for PWA).
2.1. Selecting an Existing File
Click on the desired image or video — it will be highlighted with a blue frame. Click Select to confirm.
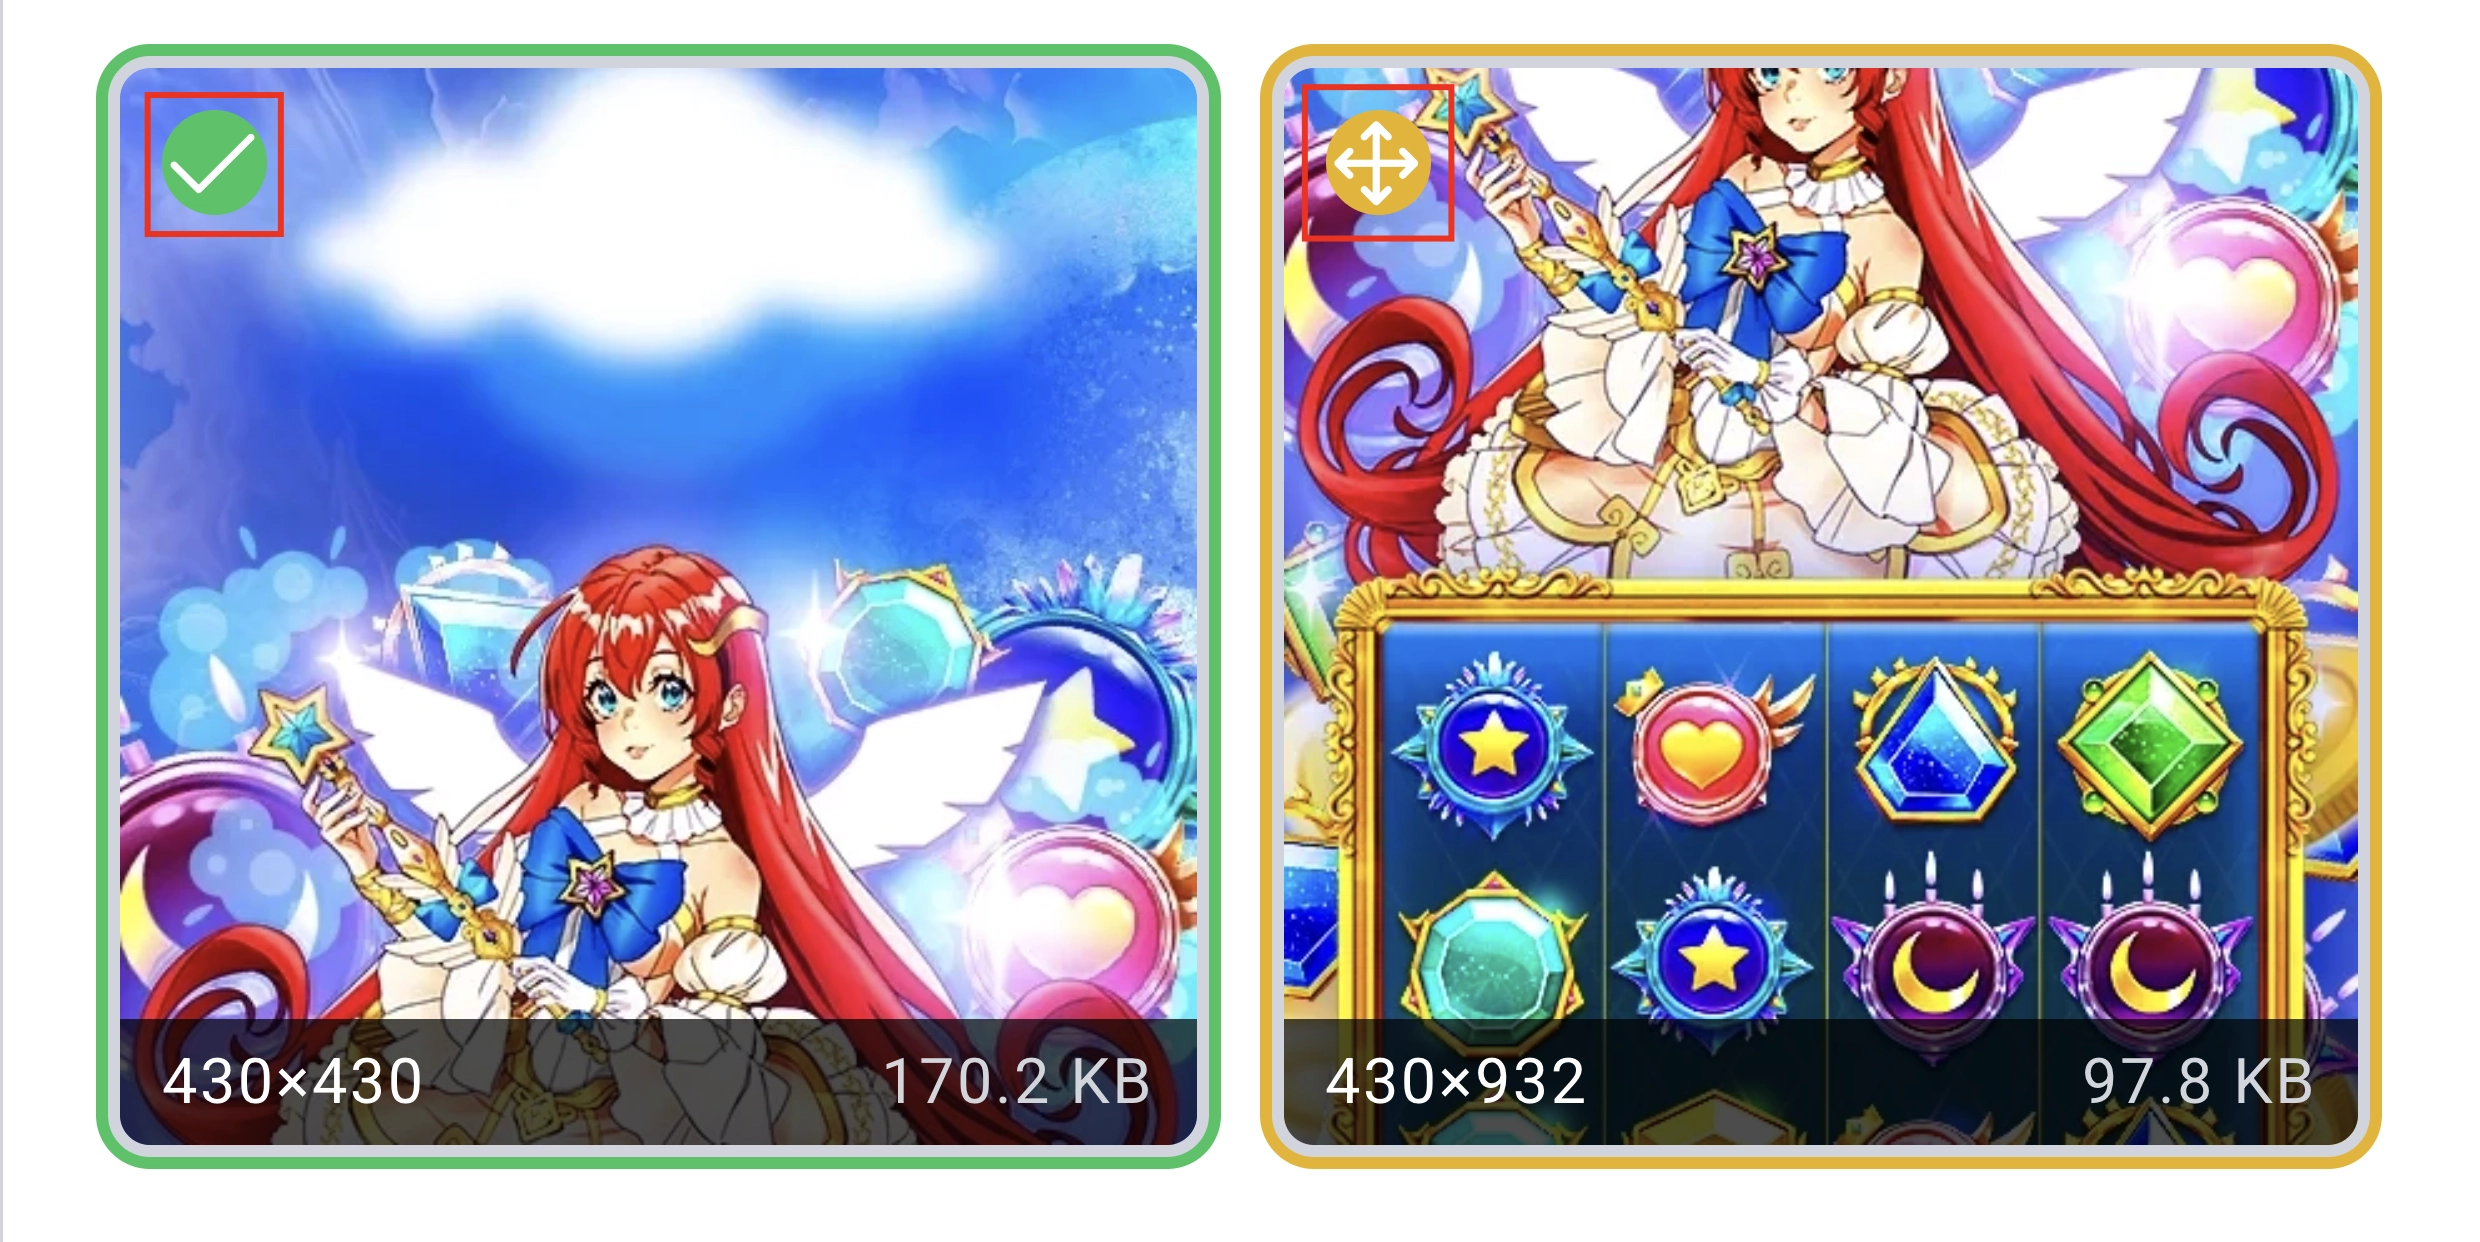
If the file is opened in a context with specified dimensions, each image is marked with a color indicator:
Indicator | Value |
|---|---|
🟢 Green Checkmark | Exact match with the required size |
🟡 Yellow Arrow | Can be cropped to the required size |
🔴 Red Exclamation Mark | Too small, not suitable |
2.2. Uploading a New File
Click on the upload area at the top of the dialog or drag files directly into it. After uploading, the file will be automatically selected, and you can immediately click Select.
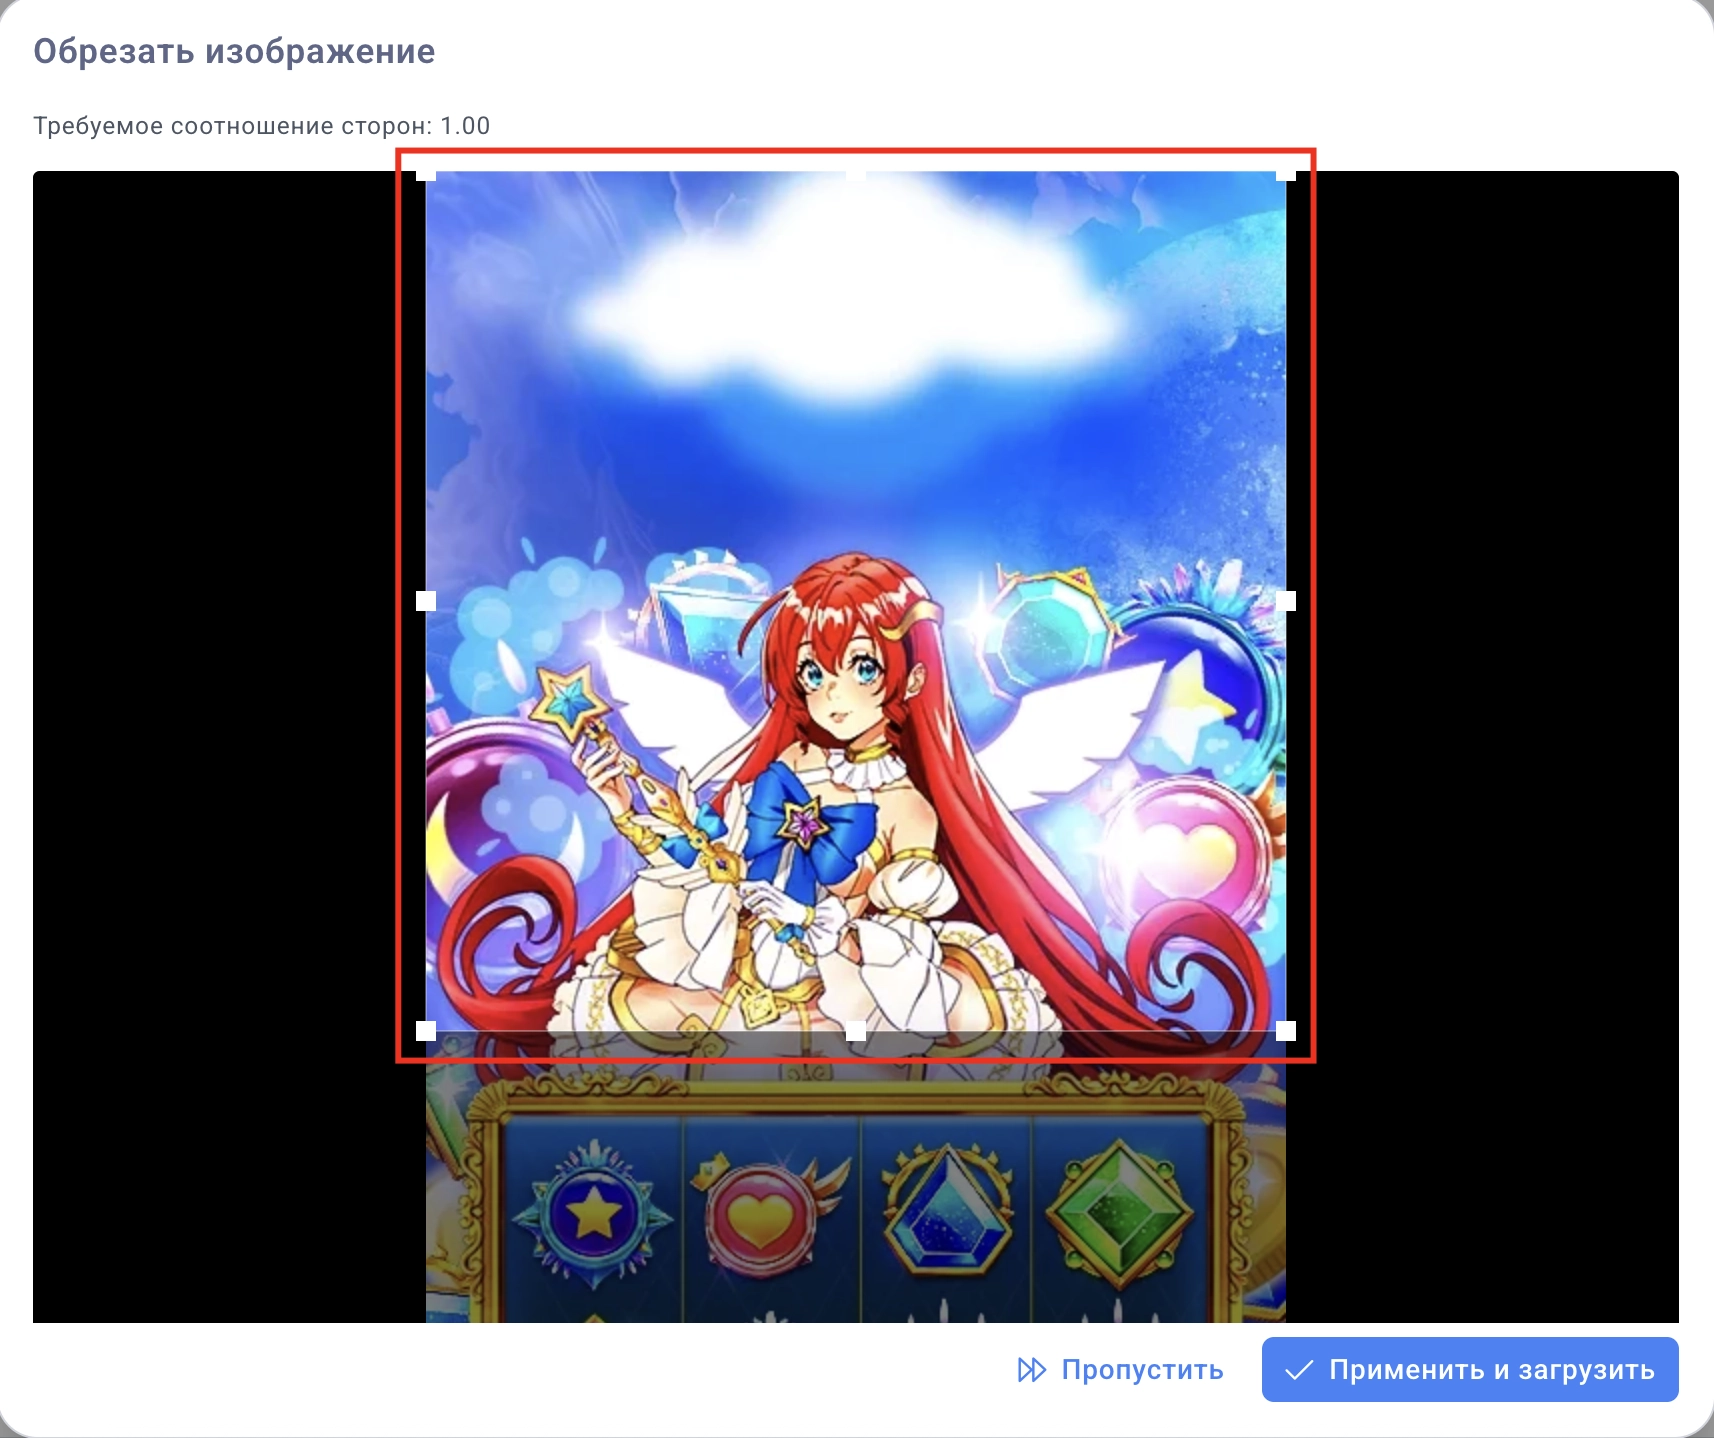
If the dialog is opened with a crop requirement (a specific size or aspect ratio is set), the cropping tool will automatically open after each upload.
2.3. Cropping Tool
-
Move and stretch the frame to the desired area.
-
Click Apply and Upload — the image will be cropped and saved.
-
Click Skip — the file will upload without cropping (in original size).
2.4. Folders in the Dialog
Click the Folders button (upper right corner of the dialog) to open the side panel of folders.
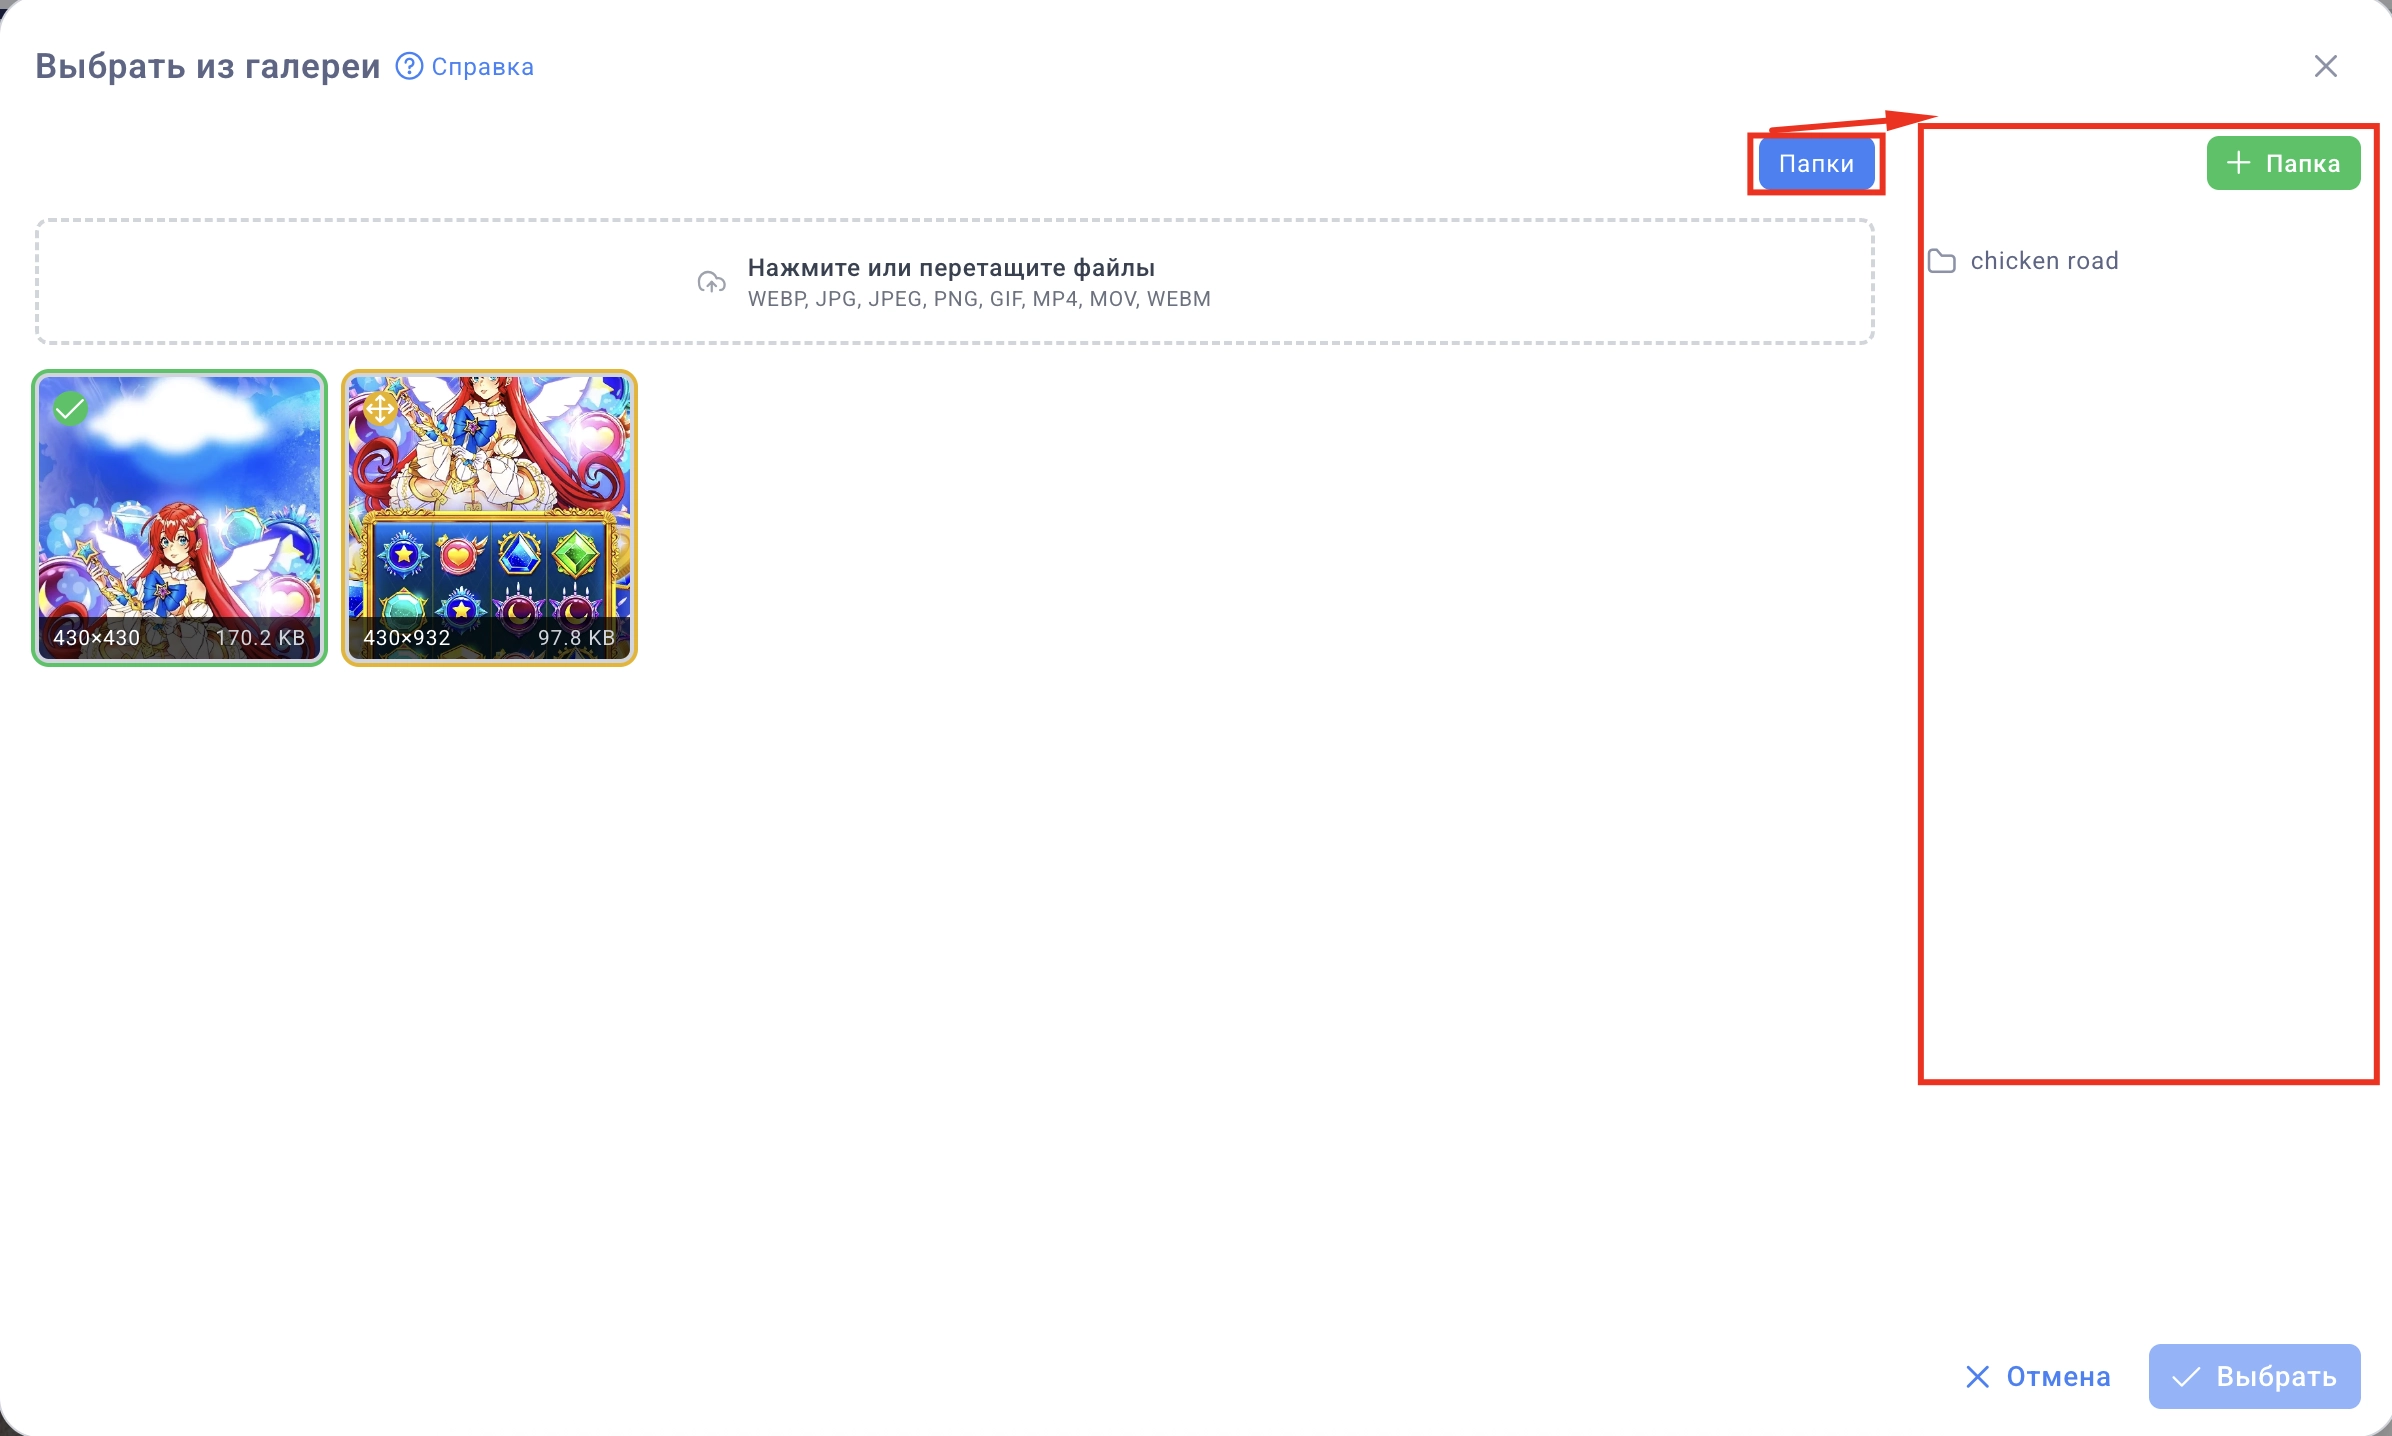
In the folder panel, you can:
-
Select a folder — the gallery will be filtered by the contents of the folder. Clicking again removes the filter.
-
Create a folder — the + Folder button at the top of the panel.
-
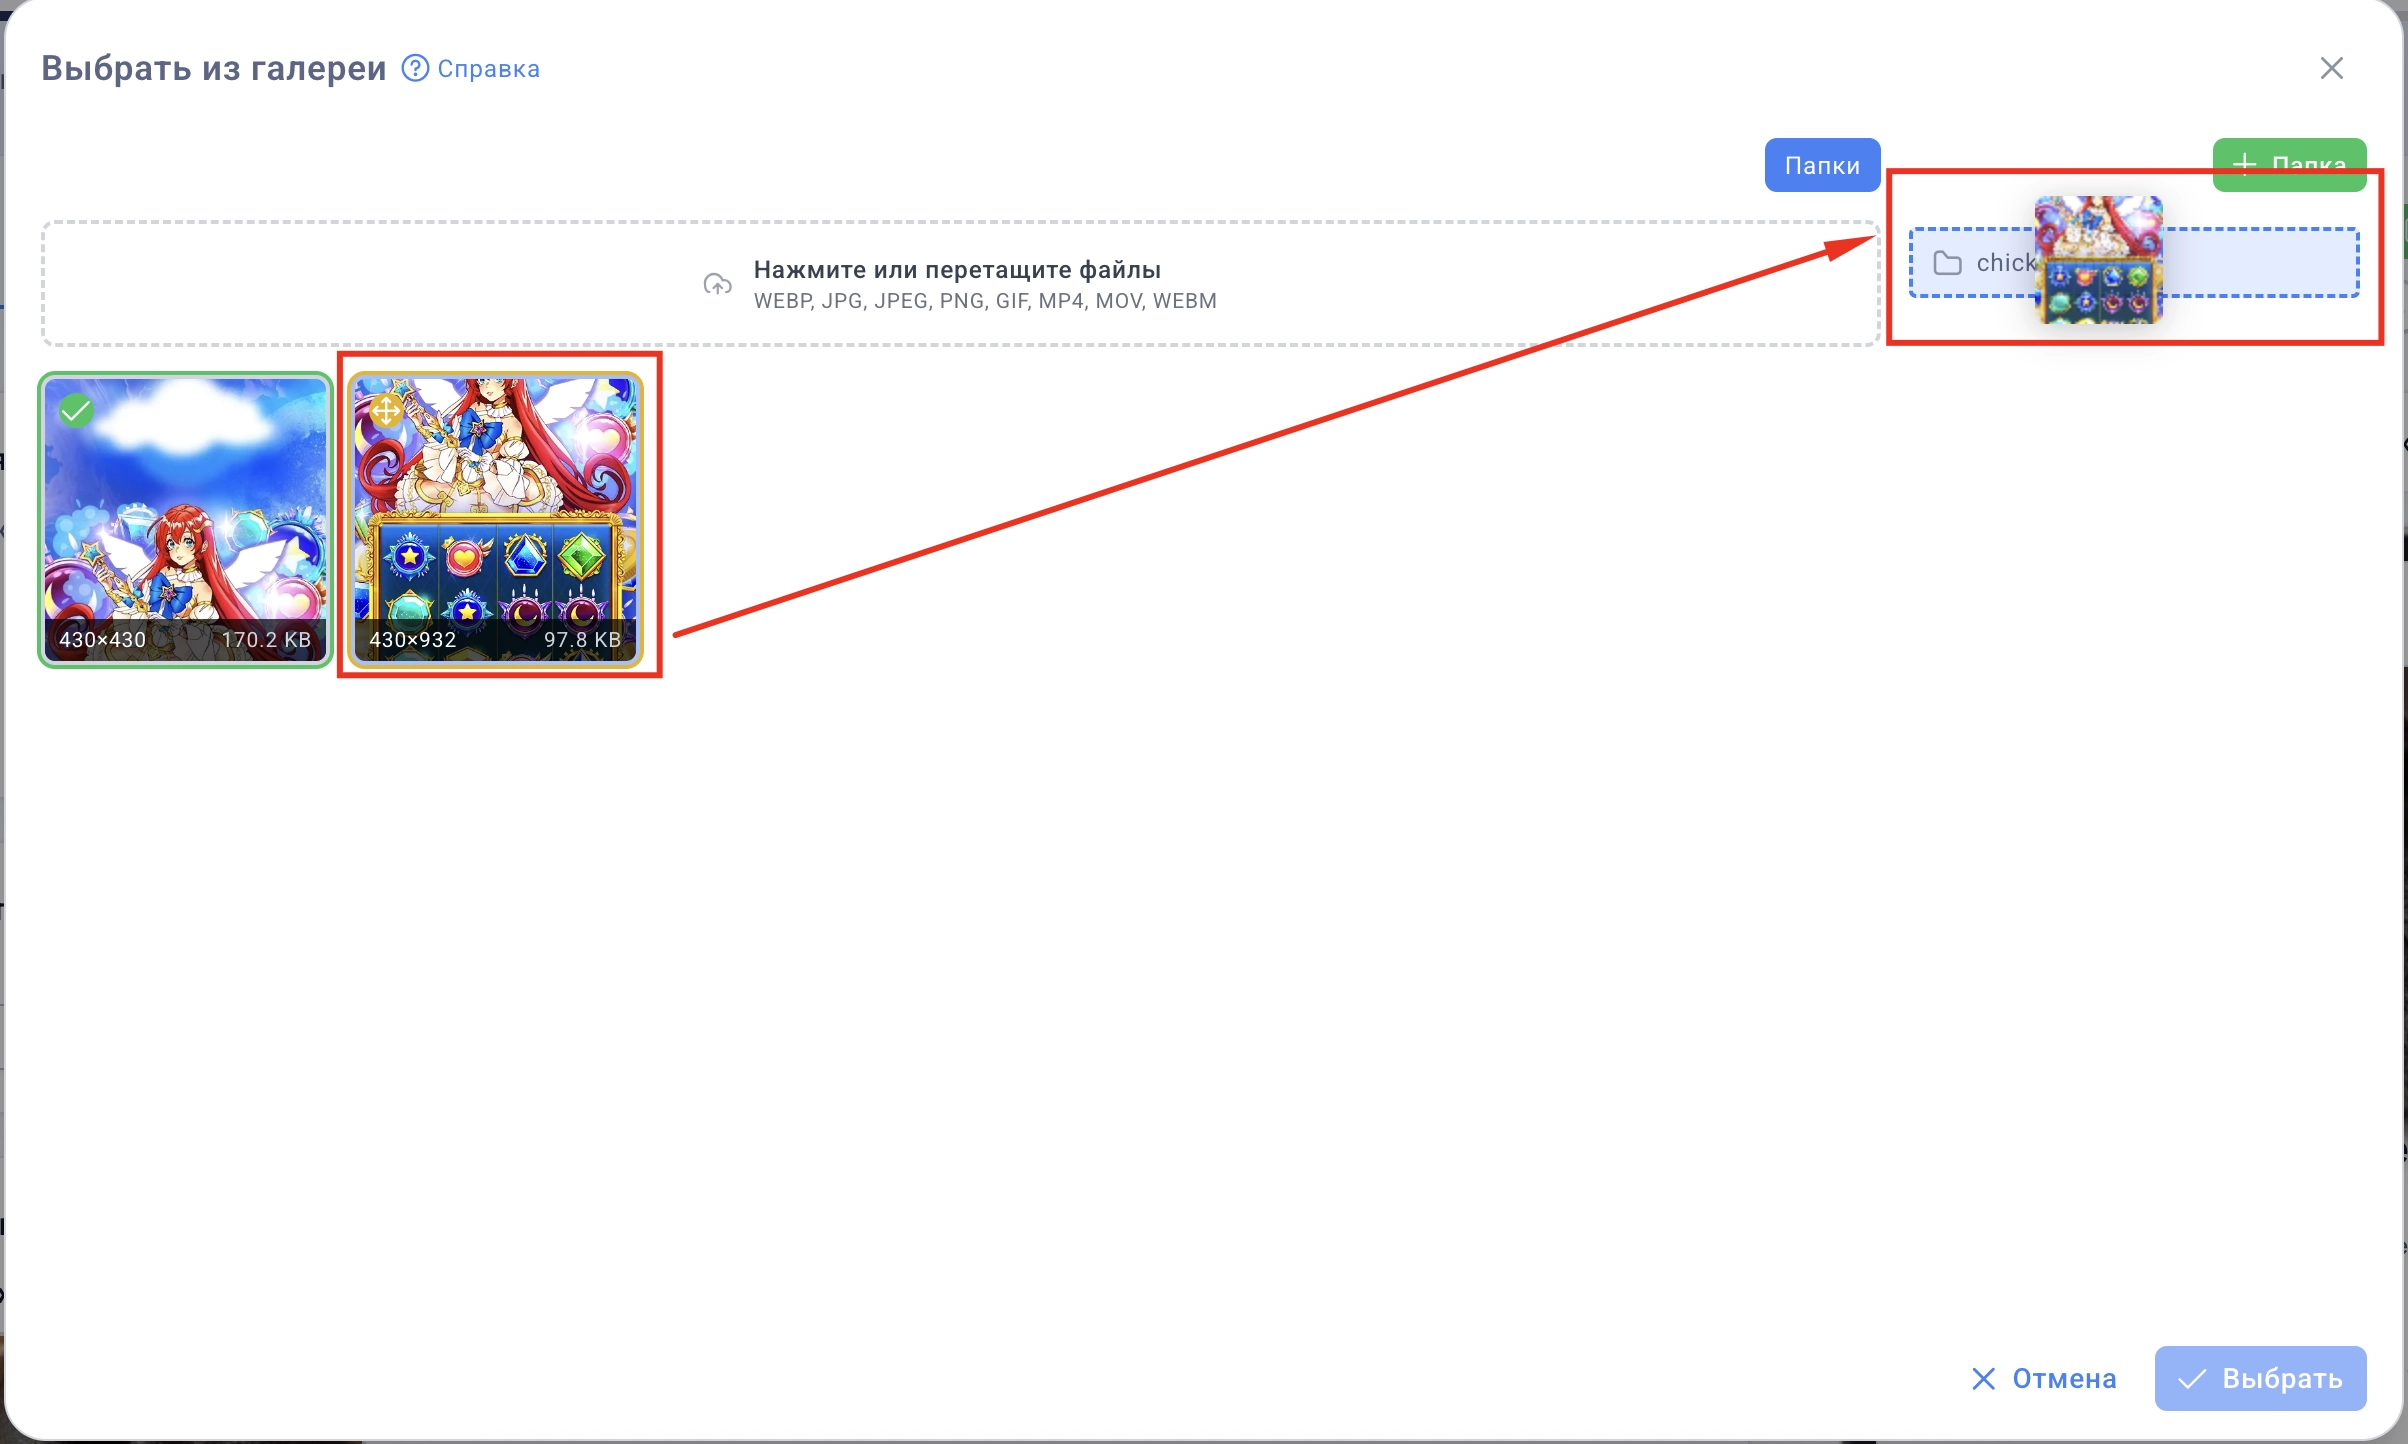
Move a file — drag the image from the gallery to the desired folder. After successful moving, a notification will appear, and the gallery will refresh.
3. Frequently Asked Questions
I deleted a file — is it gone forever? No. Deletion is soft: the file goes to the archive. Switch the filter to Inactive and click Restore.
The folder was deleted, where did the files in it go? The files remain, but are now without a folder (in the root). Find them by resetting the filter to All.
The video is taking a long time to process — is that normal? Yes. After uploading, the video is converted — this usually takes a few seconds. A spinner "Processing..." is displayed on the cell. The page updates the status automatically, no need to refresh.
How to move multiple files to a folder at once? On the gallery page: select the desired files, click Move, select a folder. In the selection dialog: drag each file one by one to the folder in the side panel.
Maximum video size? 20 MB. An alert will appear if you try to upload a larger file.